A step-by-step guide to accepting bitcoin with Blink Wallet – a non-custodial Bitcoin and Lightning wallet built to be the best “everyday money” wallet.
Blink wallet is the best “everyday money” Bitcoin wallet. It’s not the most advanced setup, but it gets you accepting payments in minutes with minimal technical setup. It’s a good step up from both Wallet of Satoshi and Muun. Perfect for farmers markets, pop-up shops, and anyone trying Bitcoin payments for the first time.
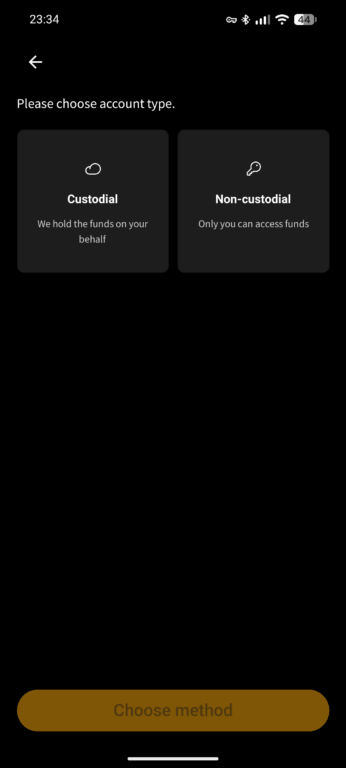
Upon opening the app for the first time, you’ll be prompted to create a new account and given the choice between a custodial and a non-custodial account/wallet. Choose “non-custodial”
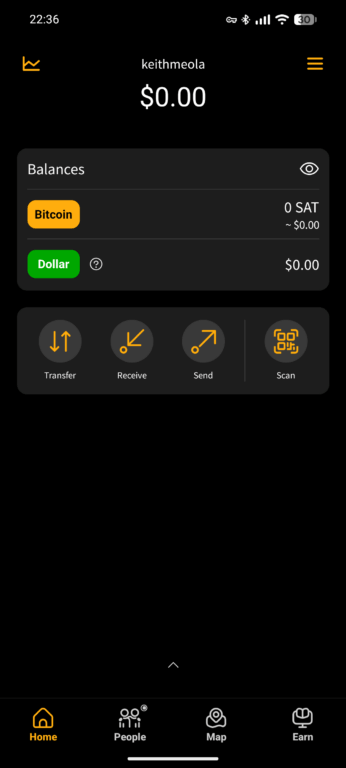
After choosing the account type, you’ll be brought to the home screen.
Creating an invoice
To accept a payment, you generate an invoice—a QR code your customer scans to send the exact amount. Here’s how:
On the home screen, tap “Receive”
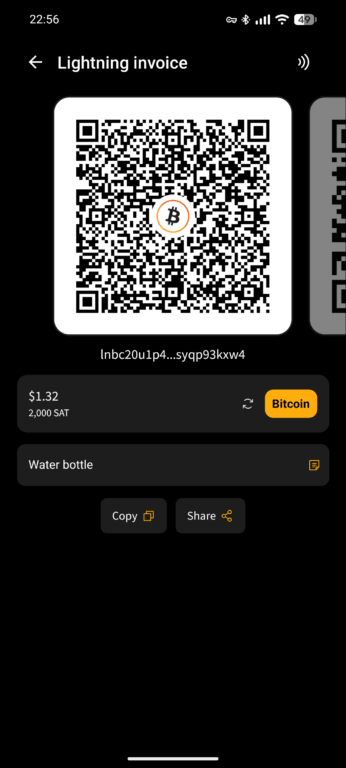
Fill in the invoice
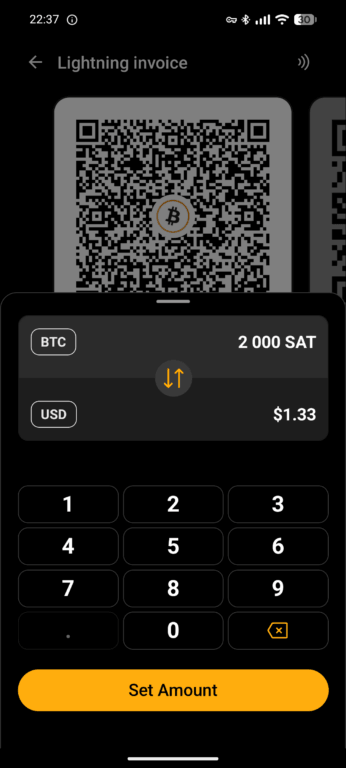
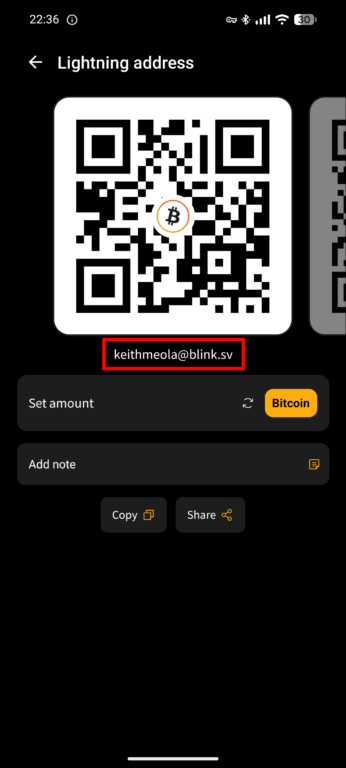
Empty invoice, tap “Set amount”
Enter the amount in sats, or alternatively switch to USD/fiat currency.
Optionally add a Note.
💡
Tips:
Make sure the top of the screen says “Lightning invoice” not “Bitcoin onchain.”
Make sure the Amount line has the “Bitcoin” icon and is not a green “USD” icon.
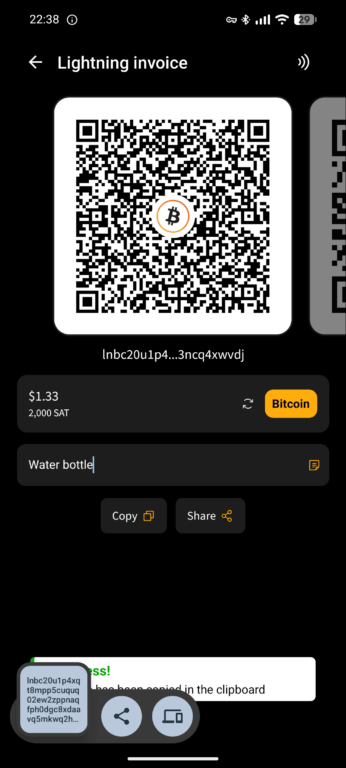
Have customer scan the QR code
You can copy the Lightning URL and send it to the customer if they can’t scan the QR code. It’s a long alphanumerical string starting with “lnbc1”.
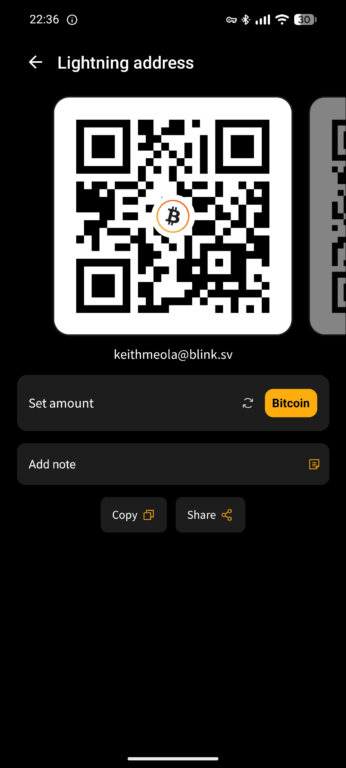
The email-looking address below the QR code on the Receive screen is your Lightning address. More info below.
💡
Tips:
The QR code inside the Receive screen when the invoice is blank is static. You can print out this QR code and people can scan it and pay you. However, the customer will need to input the payment amount if done this way. The email-looking address is your Lightning address and is unique to you. People can pay you using this address as well.
Receiving a payment
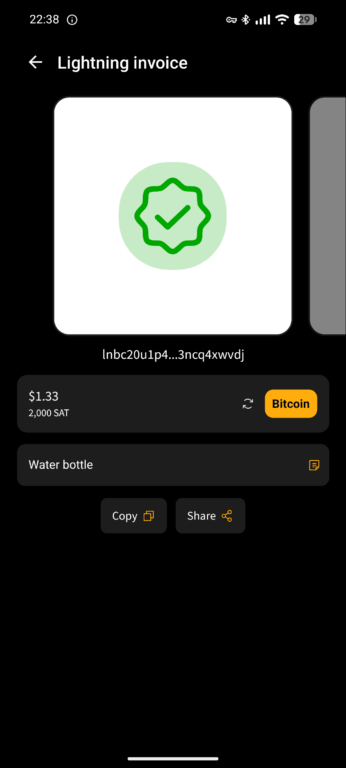
Once the customer scans and pays, here’s what you’ll see:
Payment received confirmation
Payment received!
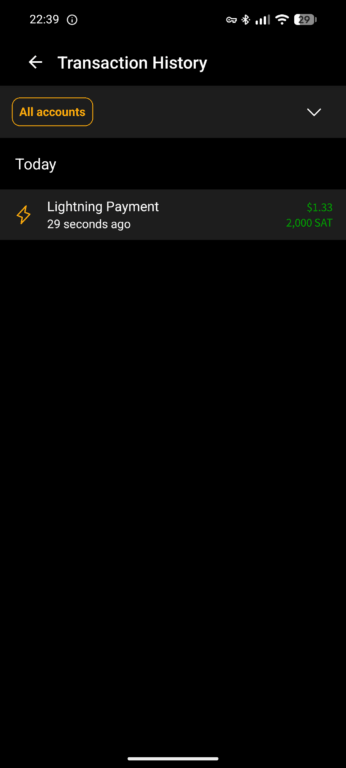
Your Transaction History accessible by swiping up on the home screen.
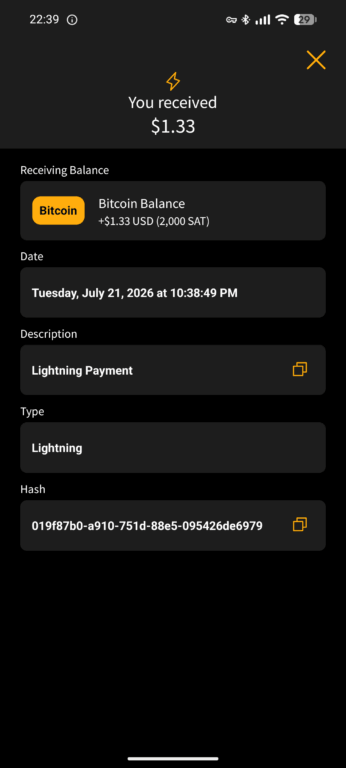
Tap a transaction to see more details.
⚠️
Important: It is vital to back up your wallet!
While the bitcoin is safe inside, if you do not back up your wallet, and you need to re-install the app, your bitcoin will be gone forever. It is impossible to get it back, there is no customer support.
Backing up your wallet
Follow these steps to back up your wallet and secure your money!
⚠️
Important: Until you back up, any Bitcoin in the wallet will be lost if you delete the app or your phone breaks. Back up now.
Tap “Backup Your Wallet”
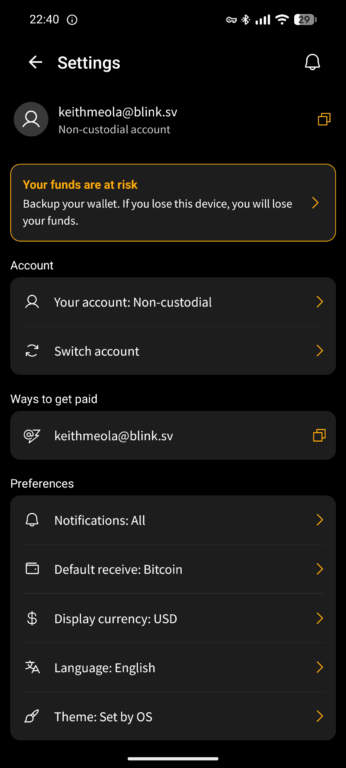
Tap the “Your funds are at risk” warning
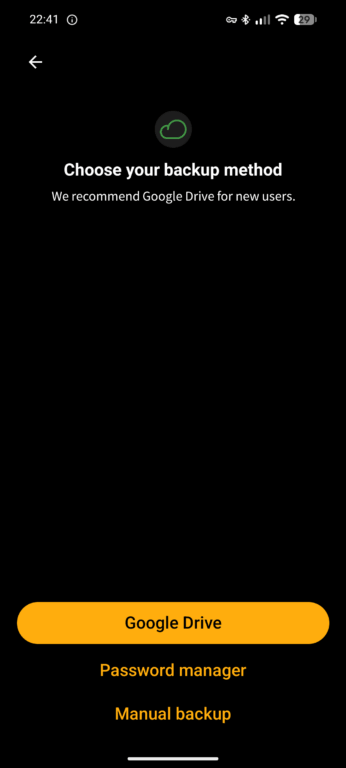
Select “Manual backup”
Choose your backup method
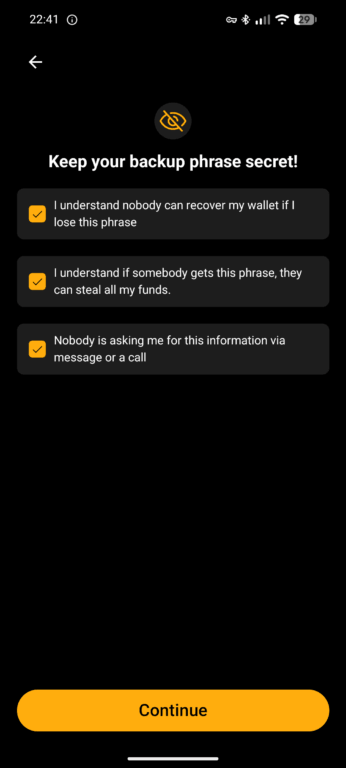
Check the boxes
💡
Notes:
You can alternatively choose to back up via Google Drive or your Password manager.
Google Drive and Password manager are the more convenient options. However, it is worth noting that the convenience does come at a cost of your backup phrase being on the internet. While these aren’t inherently insecure, if someone gains access to your password or account, they will also have access to your funds!
The most secure option is Manual backup, which is what this tutorial chooses to explain.
Blank screen captured during the seed reveal
⚠️
Important: Your 12-word seed phrase must be written down in order! Store your seed phrase someplace physical; not a screenshot, not in your email, not on your computer.
Recovering your wallet
If you need to reinstall Blink wallet or get a new phone, here’s how to restore your wallet and funds.
Choose “Restore Wallet” when opening the app
Choose “Non-custodial”
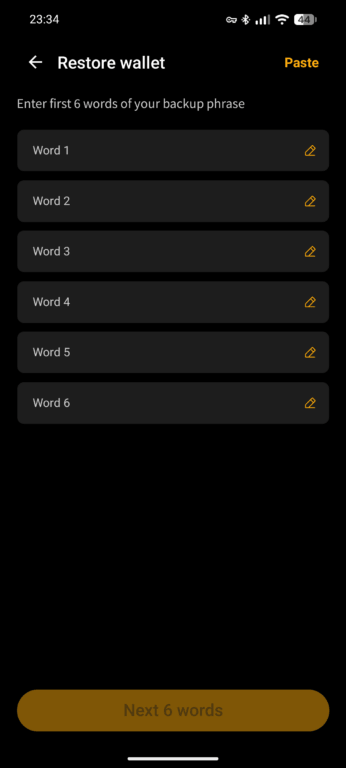
After choosing Manual, input your 12 words, in order
Securing your bitcoin
Blink wallet is great for accepting payments, but it shouldn’t be thought of as a savings account. Here’s what to know and what to do next.
⚠️
Important: Blink is a hot wallet — it’s connected to the internet and not designed for long-term storage of significant funds. As your Bitcoin balance grows, you should move it to cold storage.
Transfer to cold storage
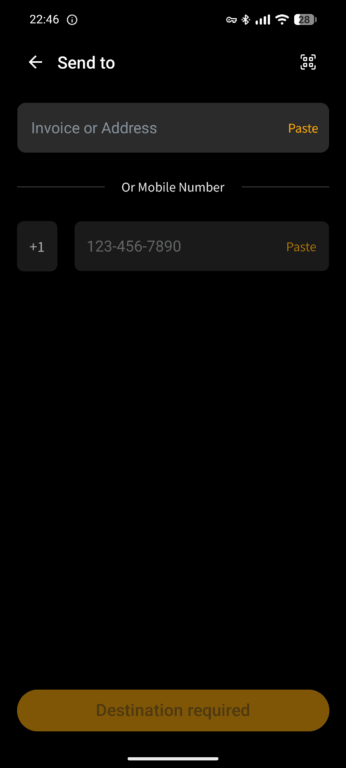
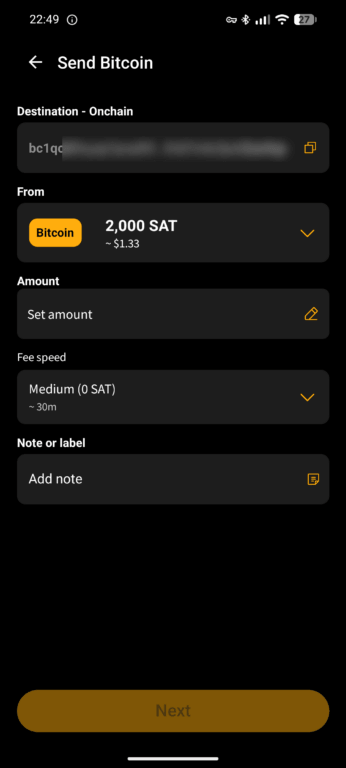
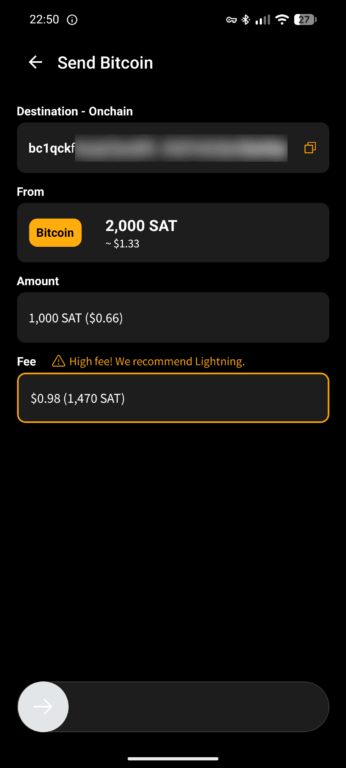
To fully secure your Bitcoin, withdraw it from Blink and transfer it to a cold storage wallet like a Coldcard or Trezor. Generate a receiving address from your cold storage wallet, copy it, then tap “Send” in Blink.
Paste in a receiving address to your Bitcoin hardware wallet
Set the amount to send, choose the speed/fee and optionally add a note