A step-by-step guide to accepting bitcoin with Phoenix Wallet – a powerful, non-custodial Bitcoin and Lightning wallet with a local Lightning node built in.
This guide assumes you already have bitcoin in a Lightning wallet such as (but not limited to) Wallet of Satoshi, Muun or Blink wallet. You will need around 20,000 sats available to send to yourself in Phoenix wallet to begin accepting payments. This will be explained in the guide.
Phoenix wallet is a powerful and more private Bitcoin Lightning wallet for the intermediate user. It’s not as simple and straightforward as Wallet of Satoshi, Muun, or Blink wallet. It introduces advanced topics such as liquidity and payment channels. However, it’s the ideal wallet for someone who has already been accepting bitcoin for payments but is looking for more control and privacy.
Upon opening the app for the first time and creating your wallet, you will need to send yourself a small payment to initialize receiving payments. This is because Phoenix operates a local node on your phone, and it is necessary to open a payments channel to this node to receive payments. From there, you will need to acquire liquidity for your wallet.
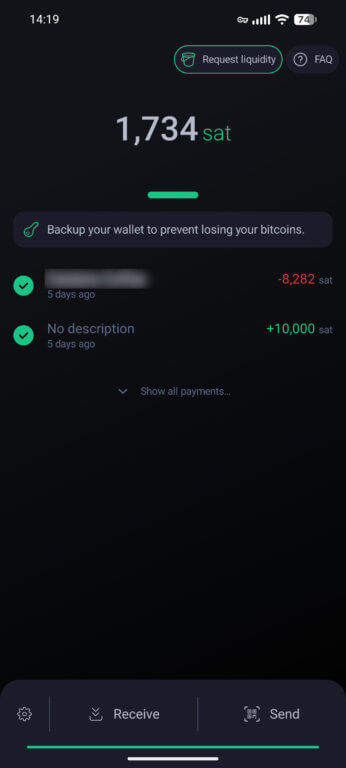
On the home screen, tap “Receive” and send yourself ~20,000 sats
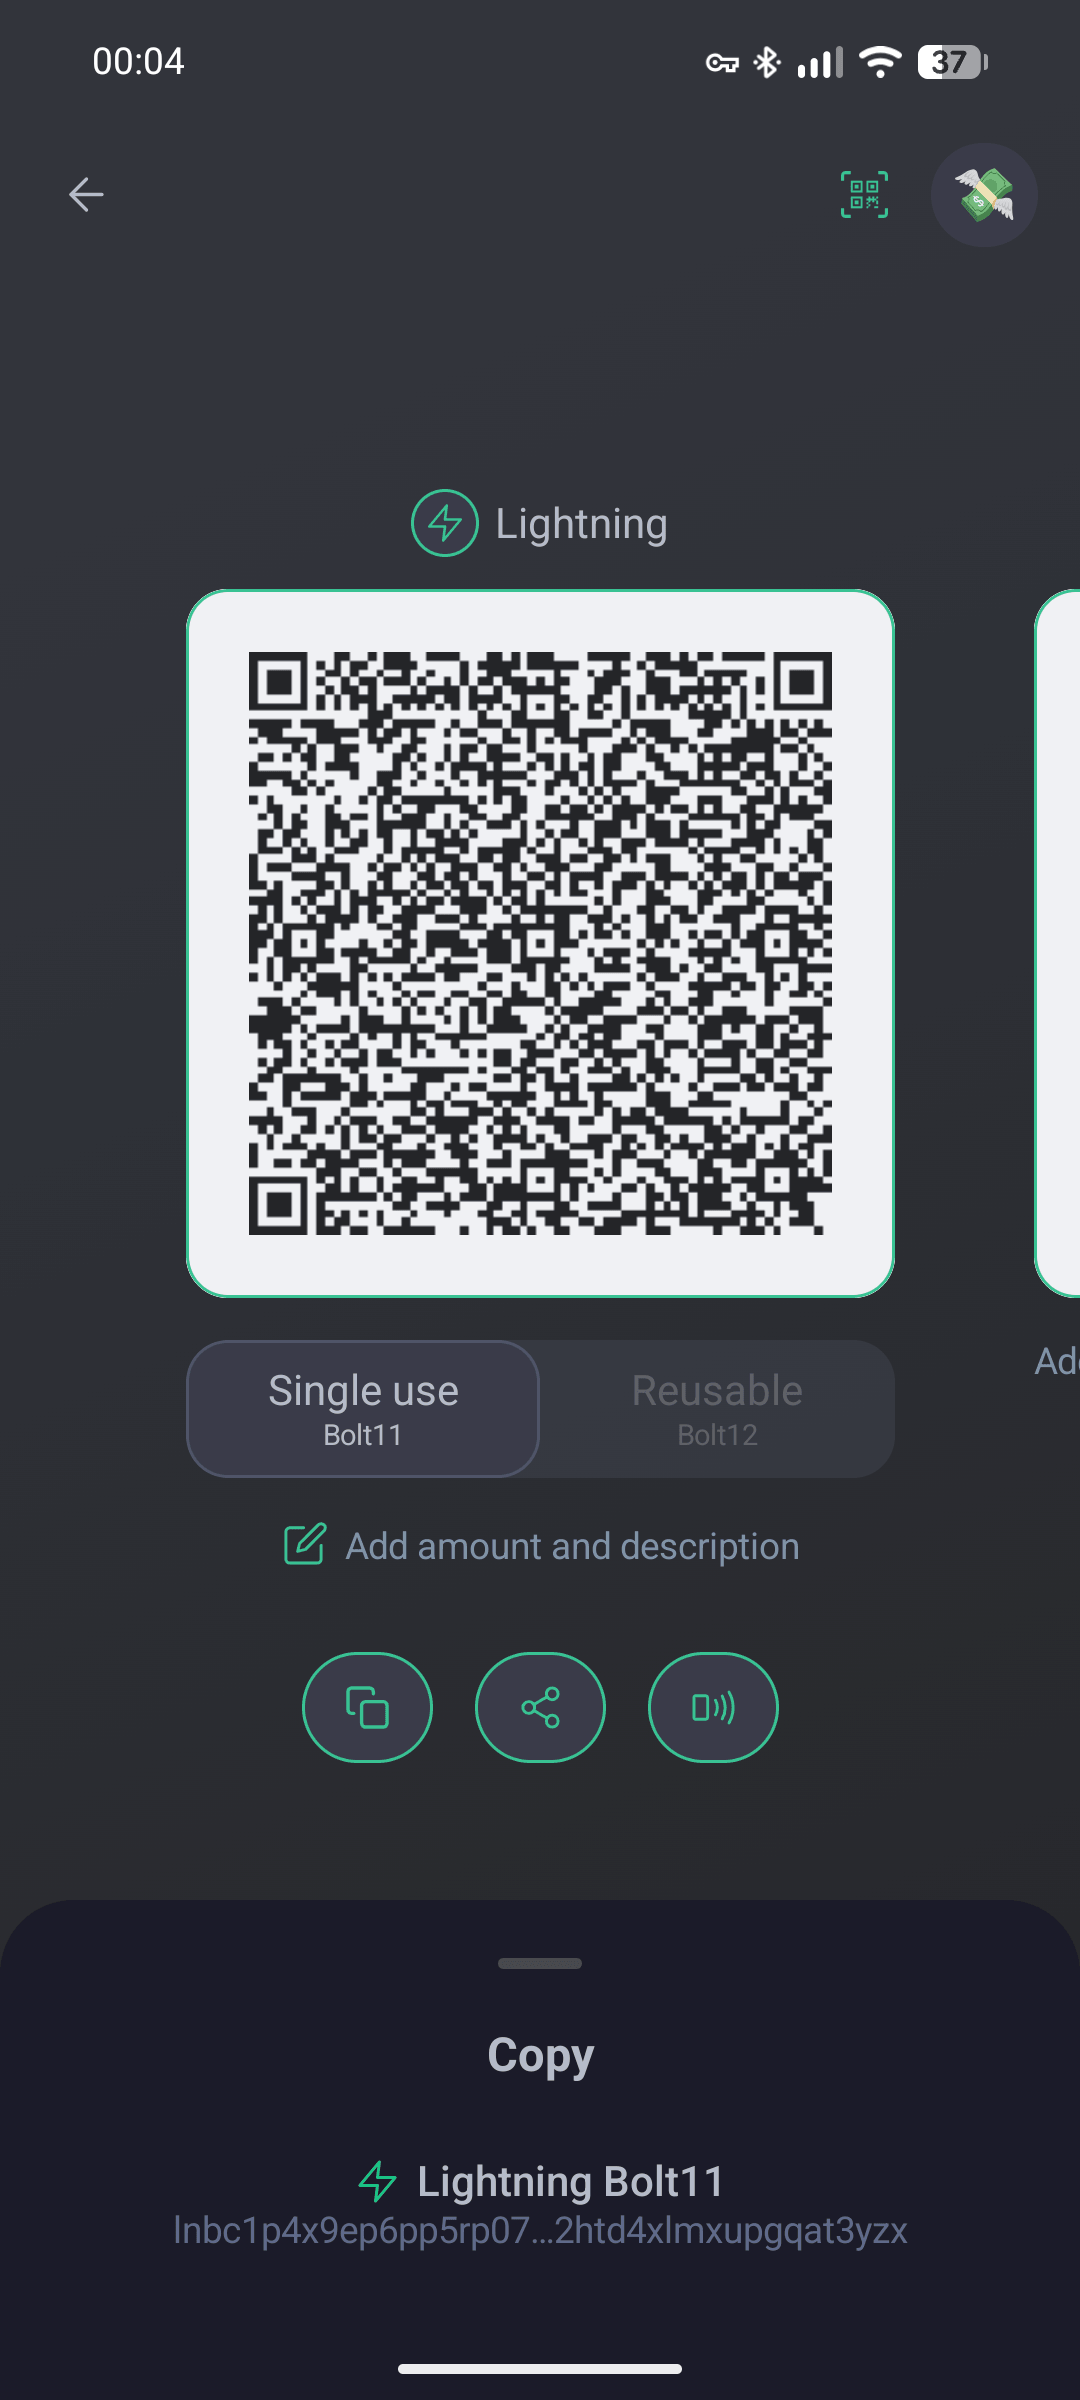
Copy the LN invoice to send to yourself.
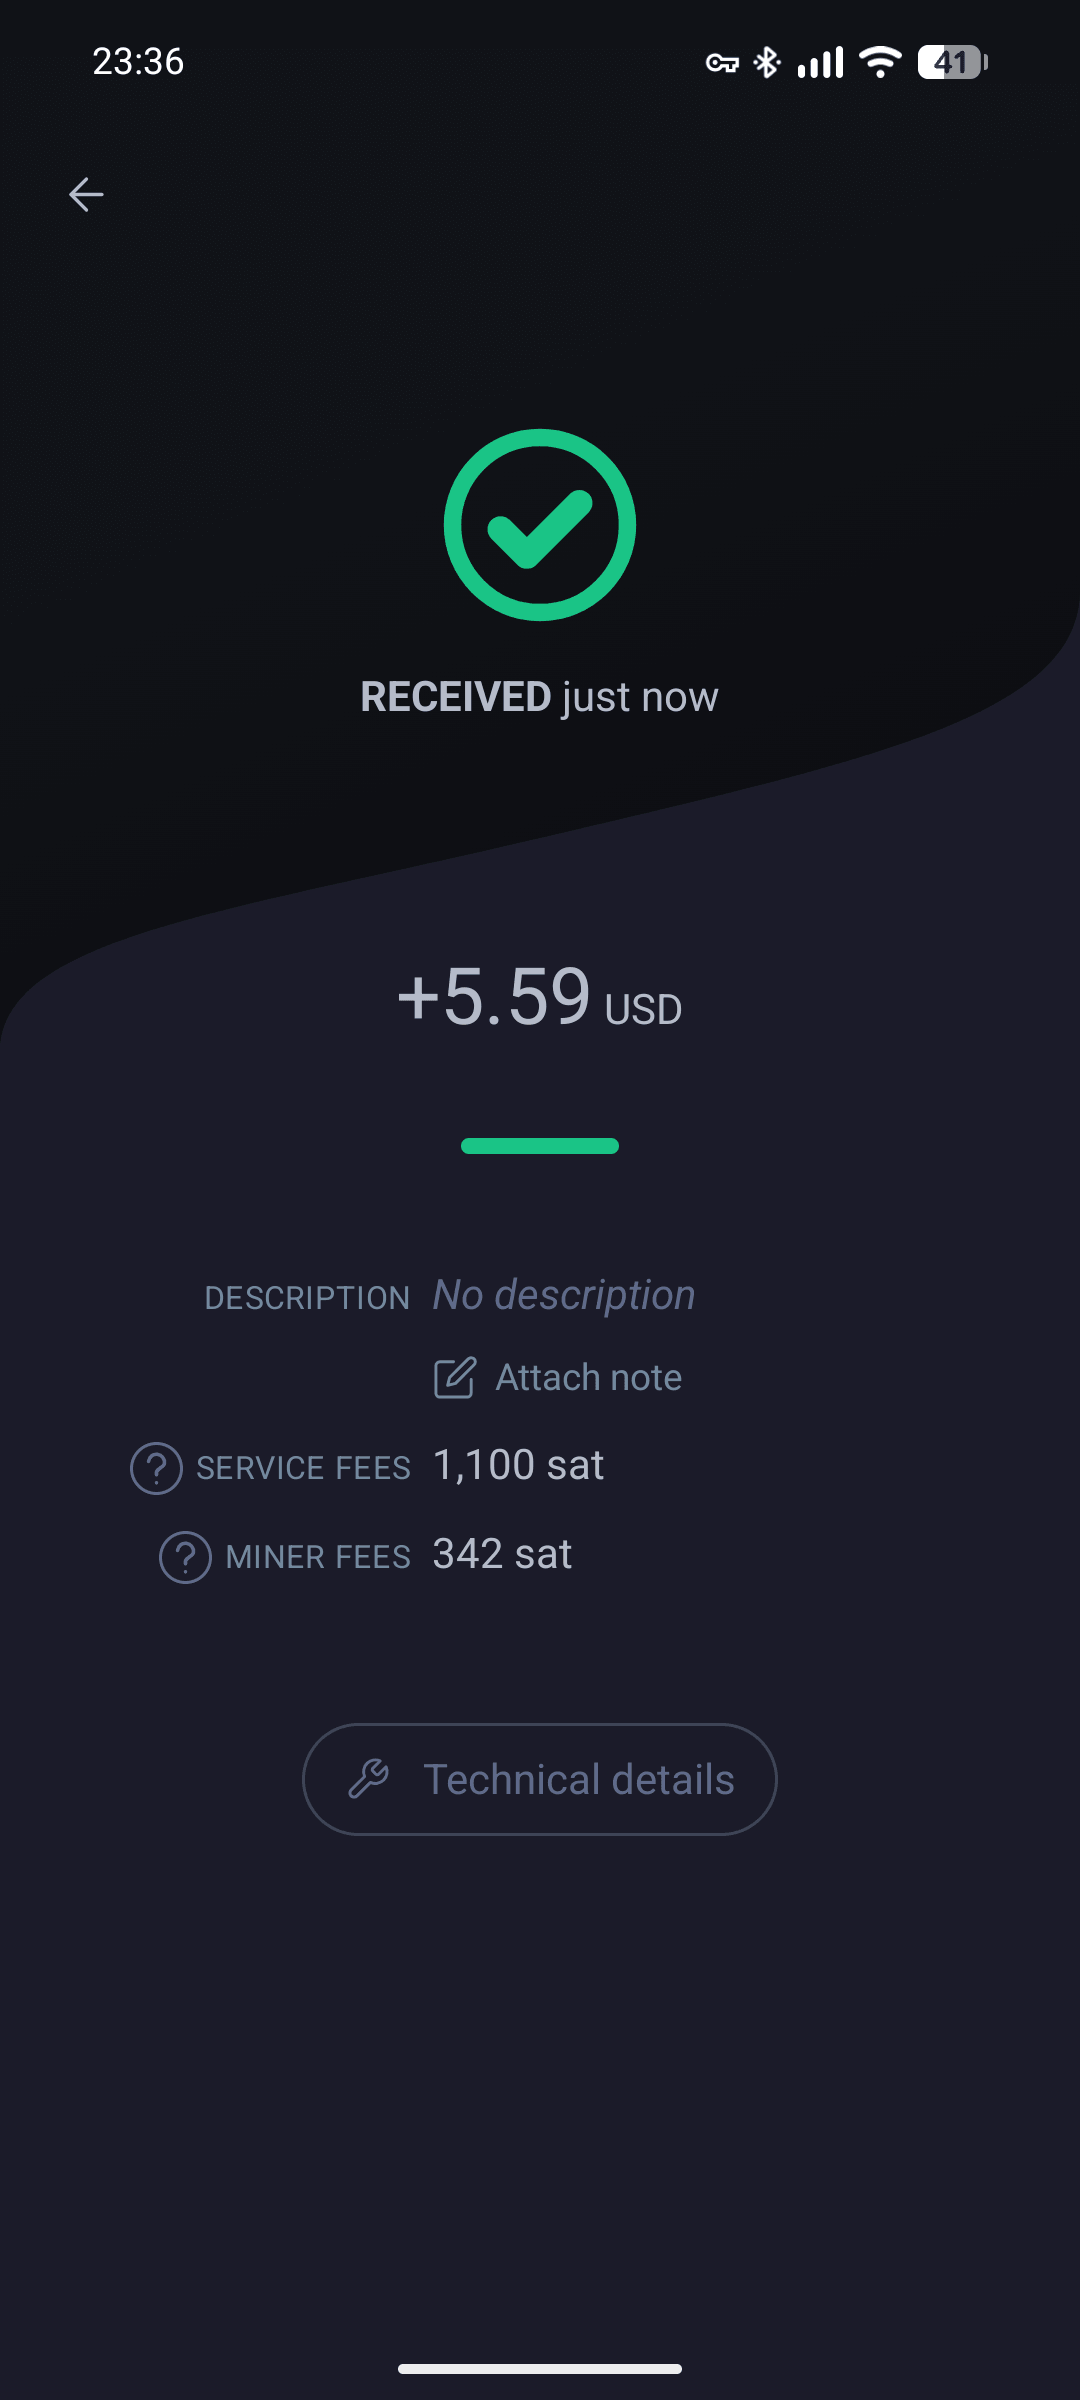
Payment received, with service and miner fees deducted.
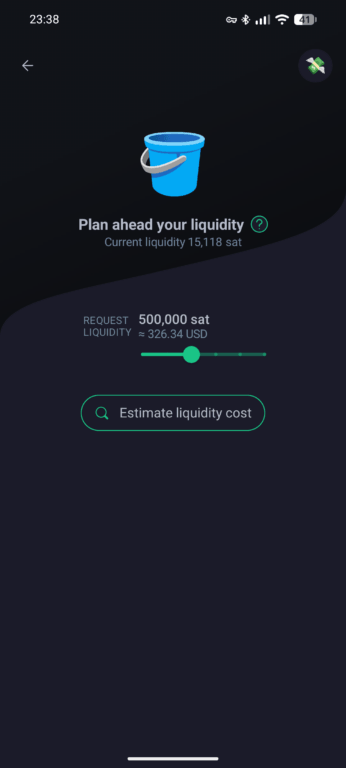
Go to Settings and Add Liquidity
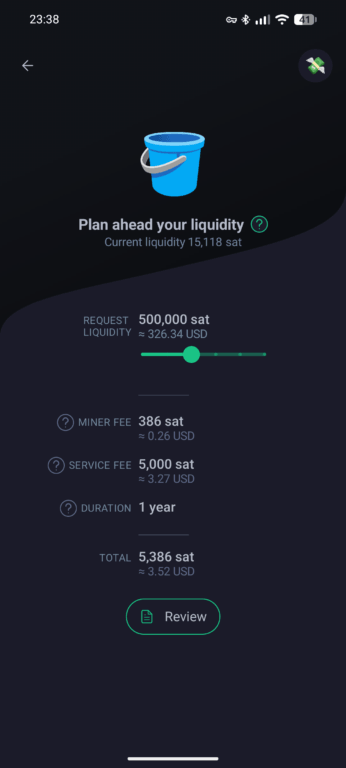
Add liquidity, around 500,000 sats is a good amount if the average transaction size is less than $50.
💡
What is liquidity?
Every Lightning channel has two sides. Your local balance is what you can send (outbound liquidity). The remote balance is what you can receive (inbound liquidity). Accepting payments requires inbound liquidity, which is why you need to add it in Phoenix.
You can see the fee breakdown into Miner and Service fees.
💡
Fee Breakdown
There are both a Miner fee and a Service fee. The Miner fee is the amount paid to a miner to open a channel with the sats, and the service fee being the cost of the Liquidity Service Provider.
Creating an invoice
To accept a payment, you generate an invoice—a QR code your customer scans to send the exact amount. Here’s how:
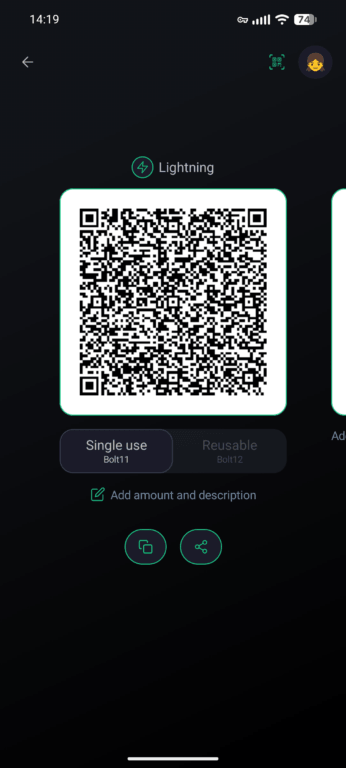
On the home screen, tap “Receive”
Fill in the invoice
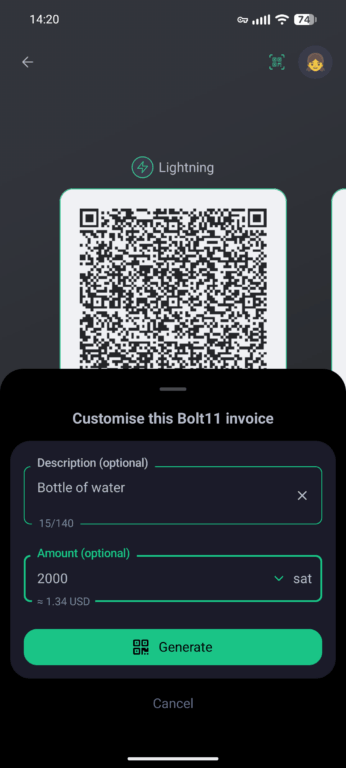
Tap “Add amount and description”.
Fill in a description and amount. You can switch between the amount in sats or USD.
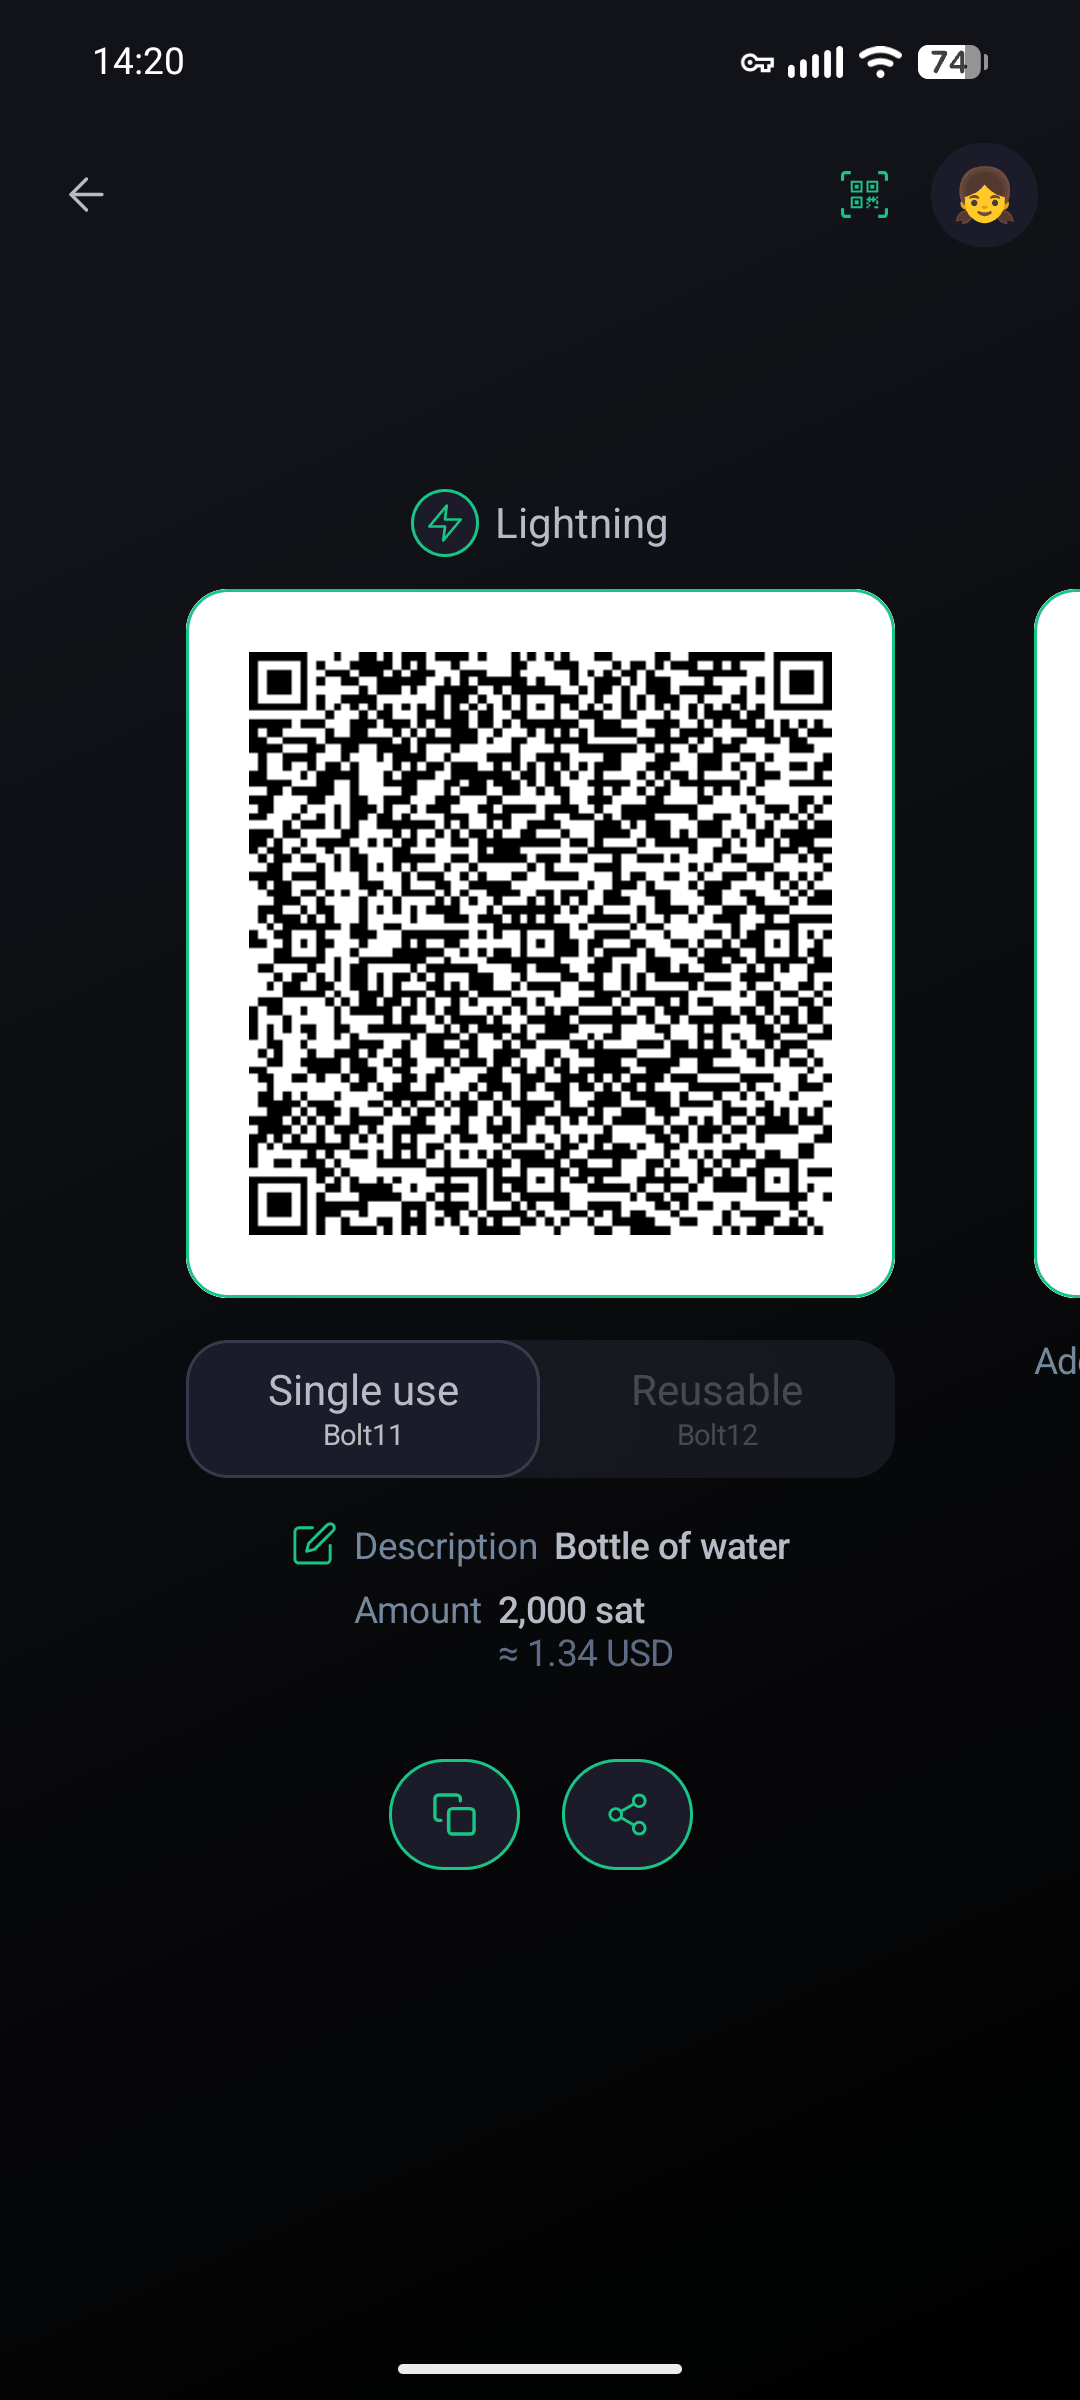
An invoice ready to be scanned.
💡
Tips:
Make sure the top of the screen says “Lightning” not “Bitcoin address”.
This invoice is for a one-time use, it cannot be paid more than once.
Have customer scan the QR code
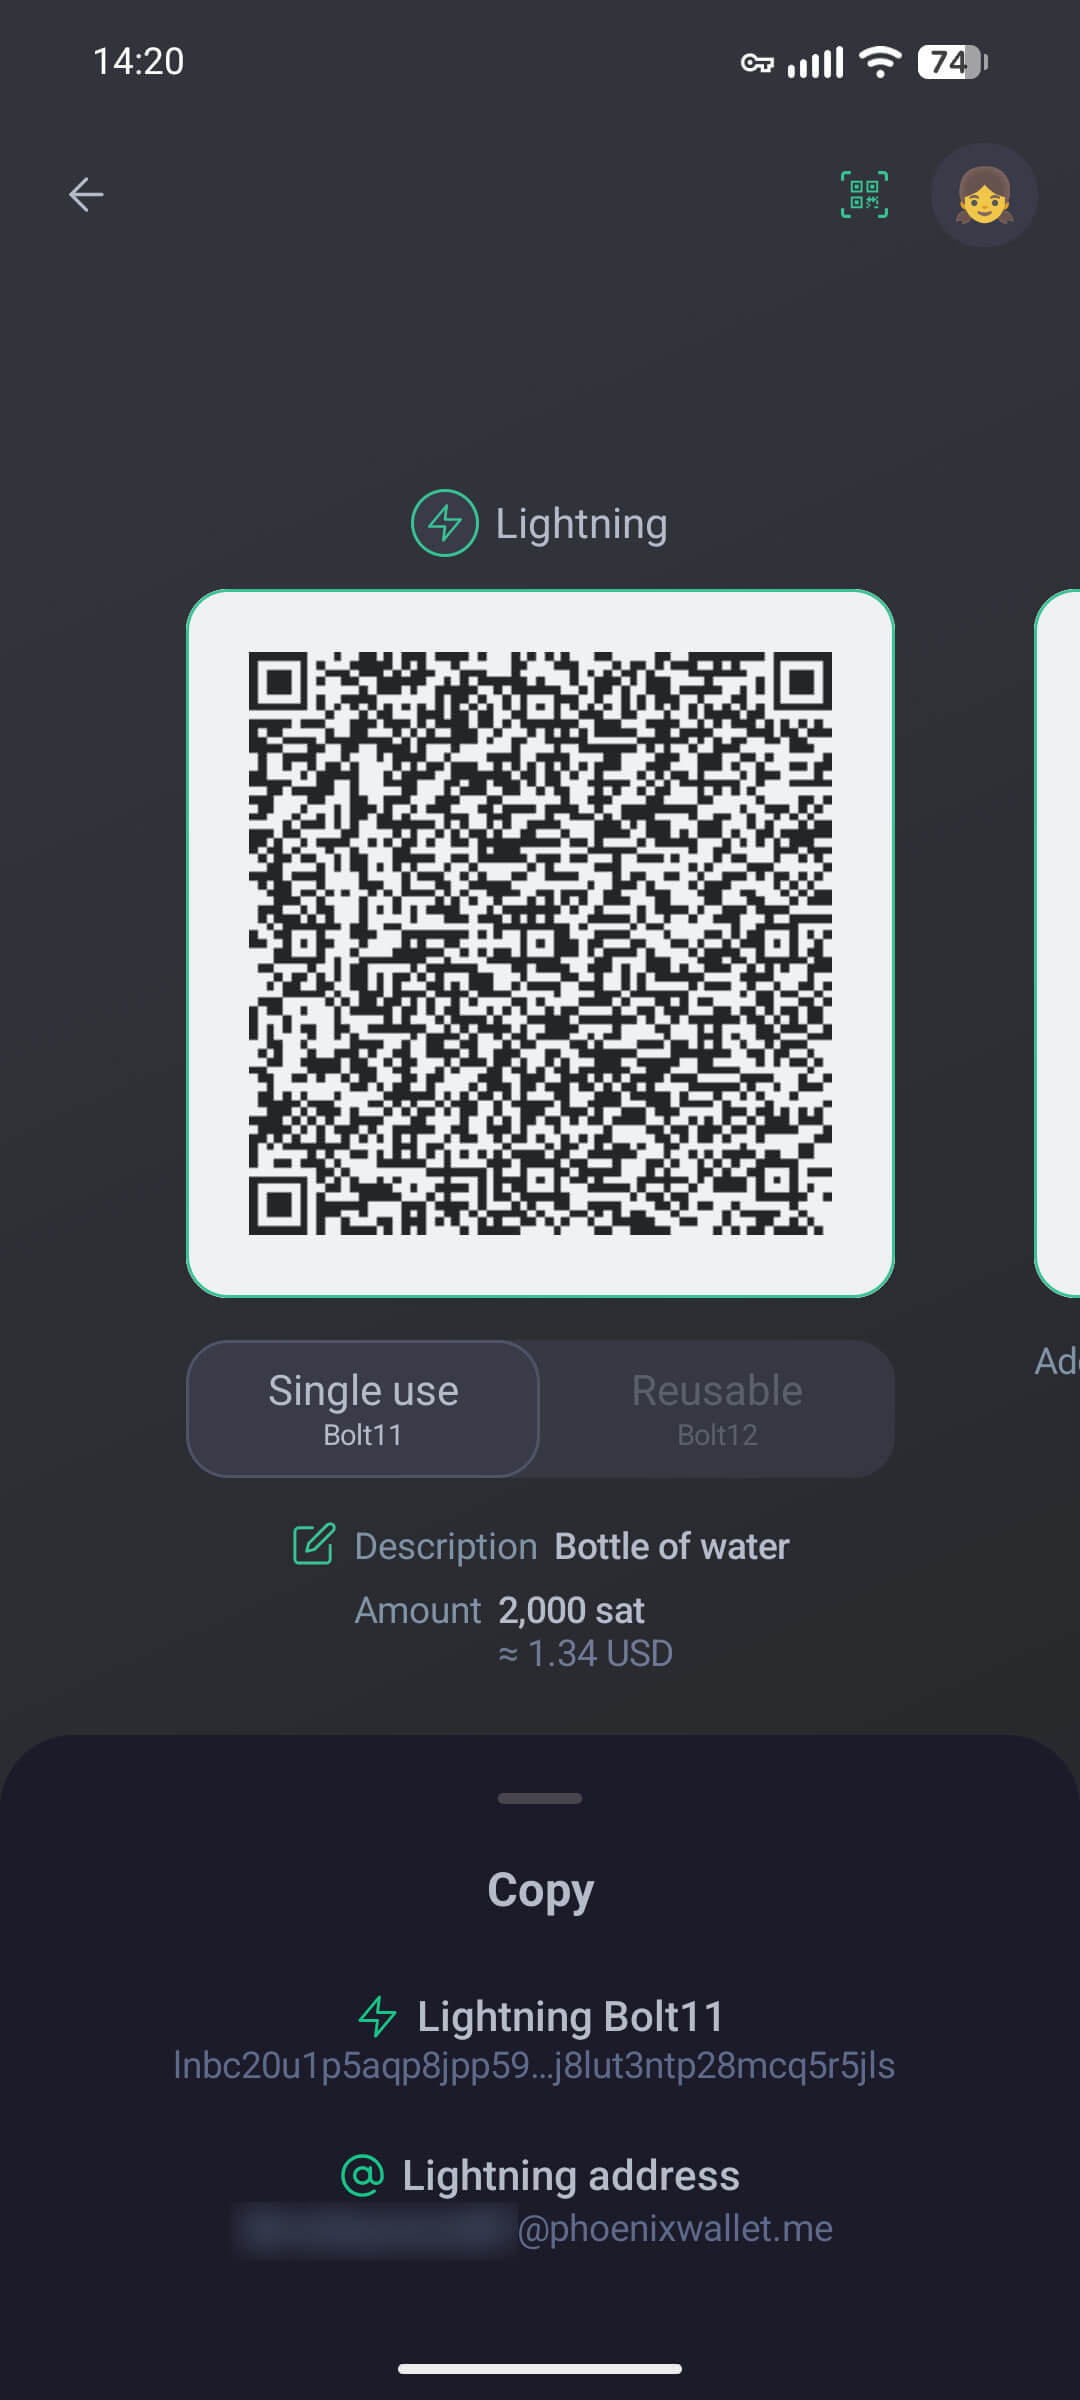
You can copy the Lightning URL and send it to the customer if they can’t scan the QR code. It’s a long alphanumerical string starting with “lnbc”.
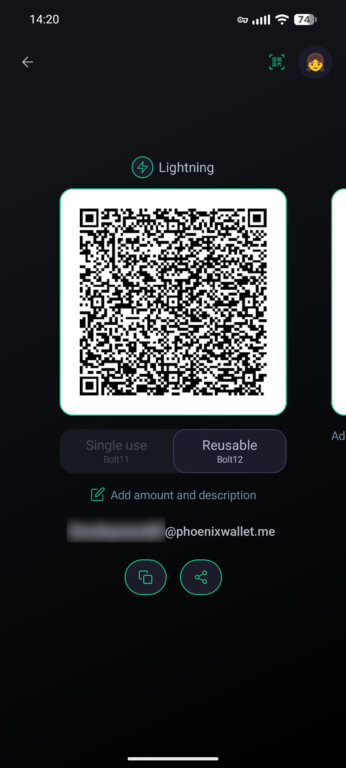
Tap “Reusable Bolt12” to reveal your Lightning address and a static QR code. The address looks like an email address, “x@phoenixwallet.me”.
💡
Reusable Bolt12 Tips:
The QR code for Reusable Bolt12 is static. You can print out this QR code and people can scan it and pay you. However, the customer will need to input the payment amount if done this way. The email-looking address is your Lightning address and is unique to you. People can pay you using this address as well.
Receiving a payment
Once the customer scans and pays, here’s what you’ll see:
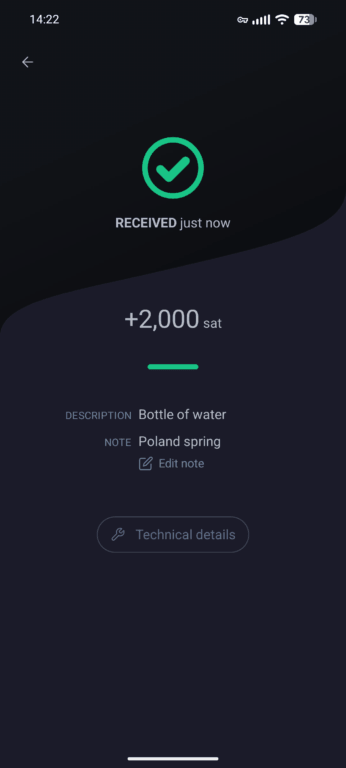
Payment received confirmation
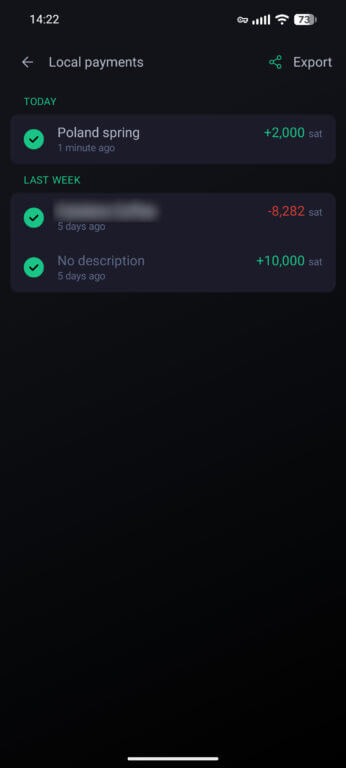
Payment received! You can add an optional Note. Mine is “Poland spring”.
Full transaction history is accessible on the home screen.
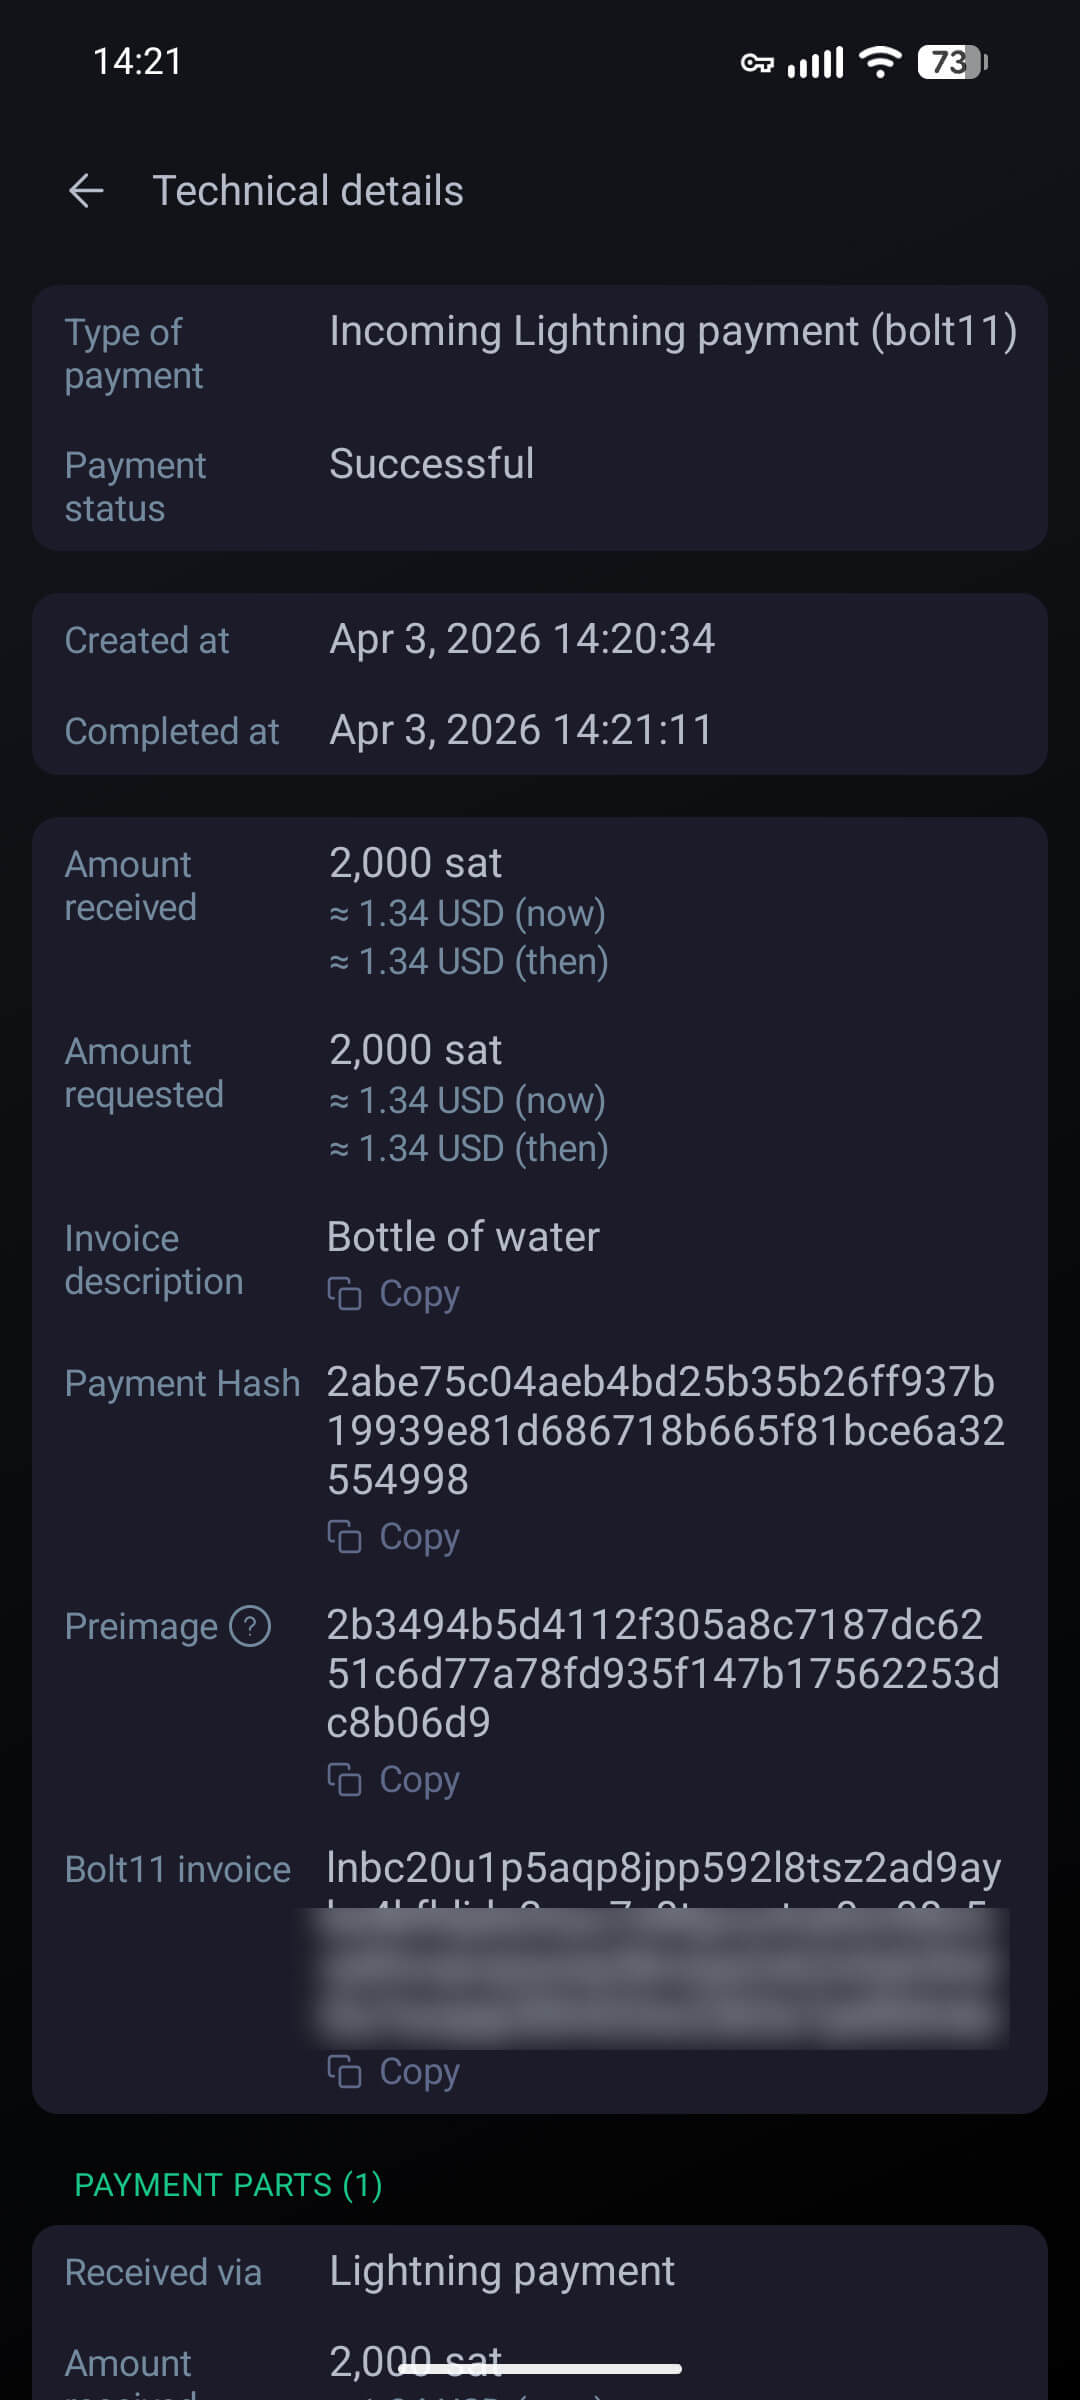
You can tap a transaction to see more details.
⚠️
Important: It is vital to back up your wallet!
While the bitcoin is safe inside, if you do not back up your wallet, and you need to re-install the app, your bitcoin will be gone forever. It is impossible to get it back, there is no customer support.
Backing up your wallet
Follow these steps to back up your wallet and secure your money!
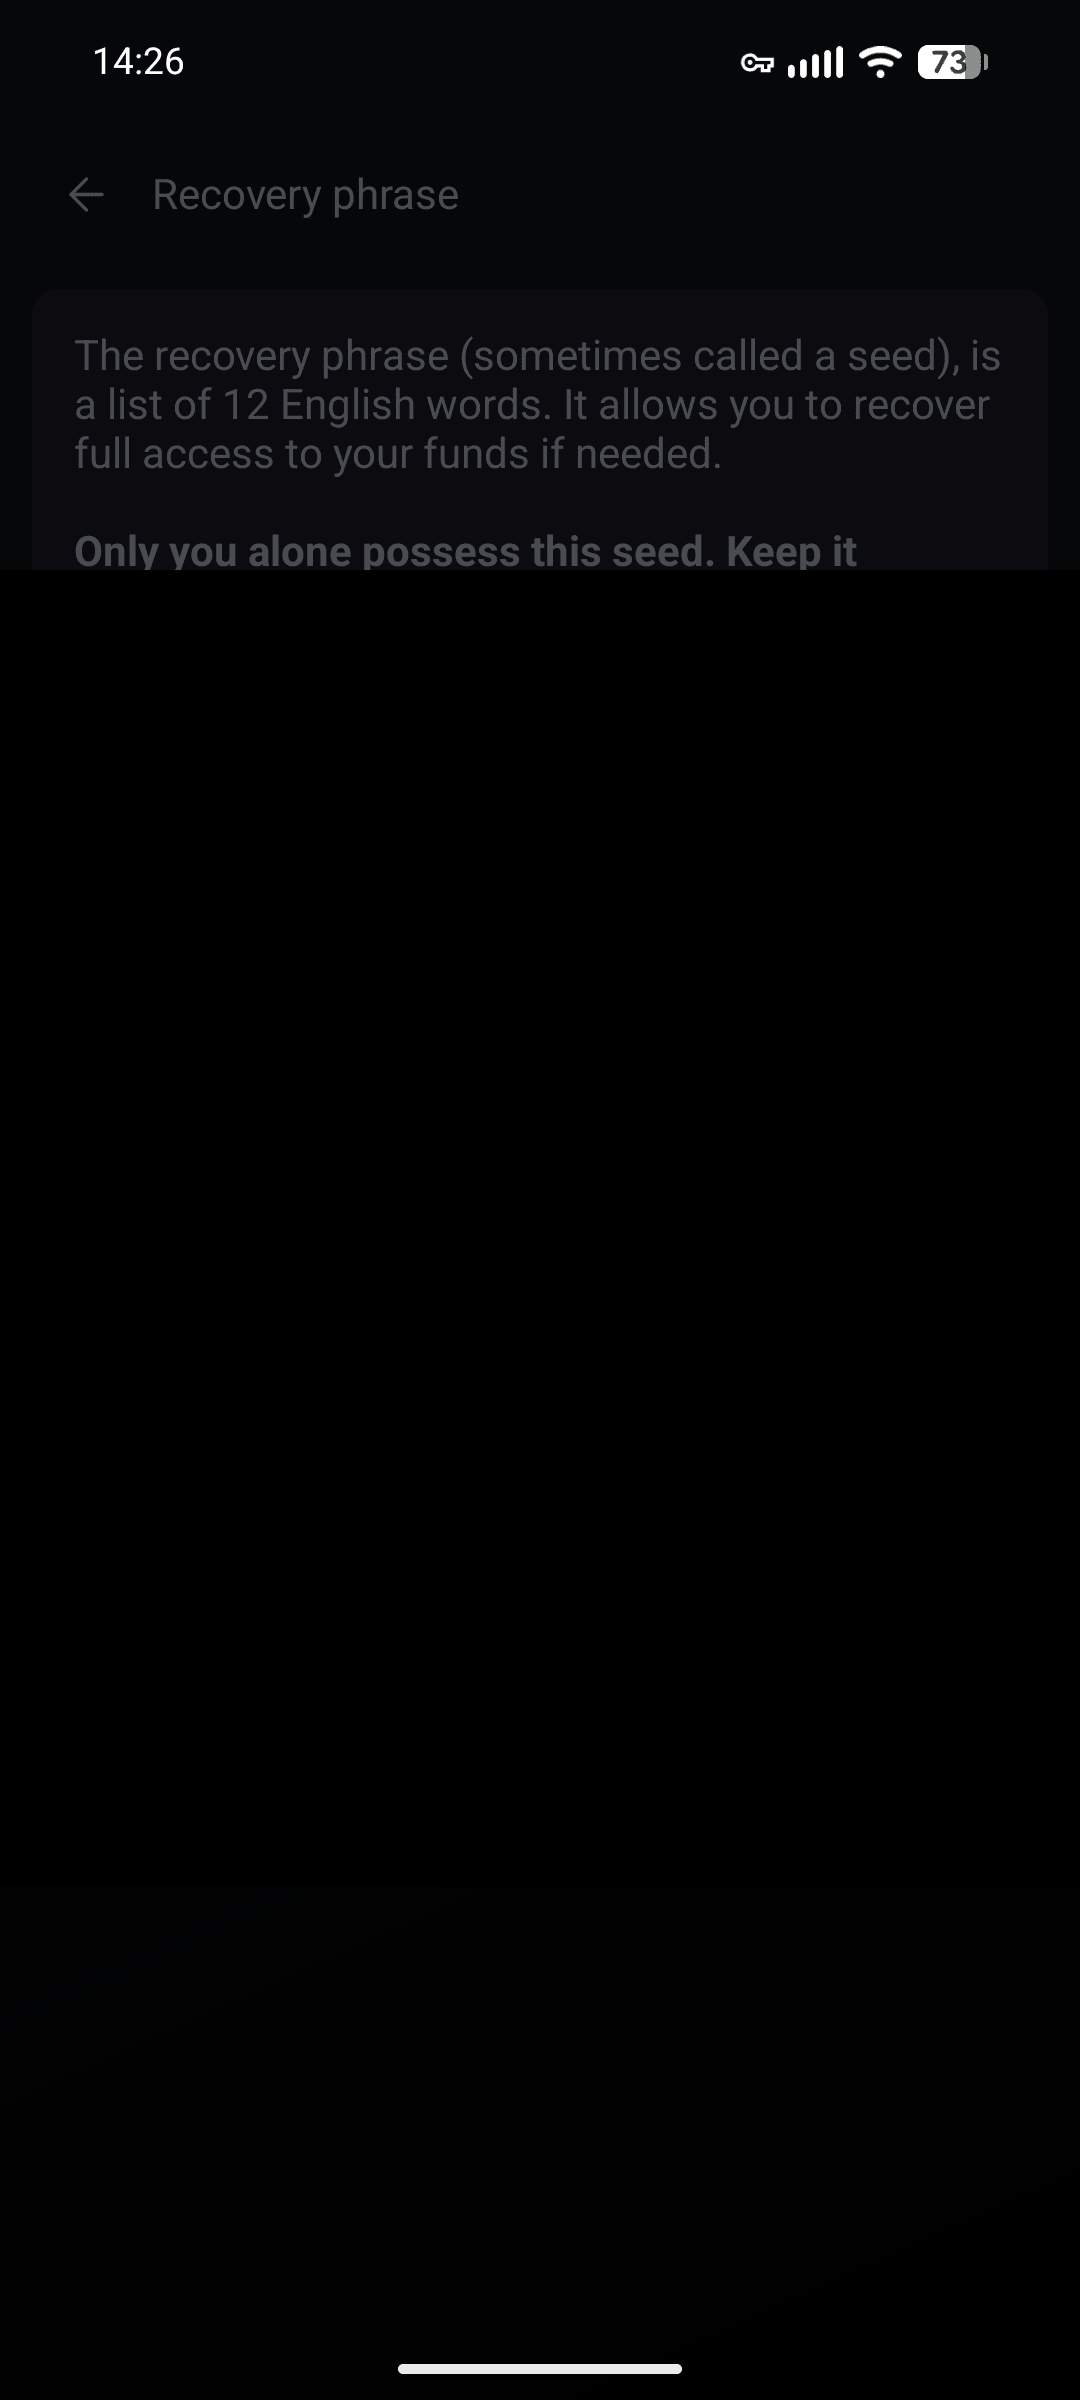
Tap “Recovery Phrase”
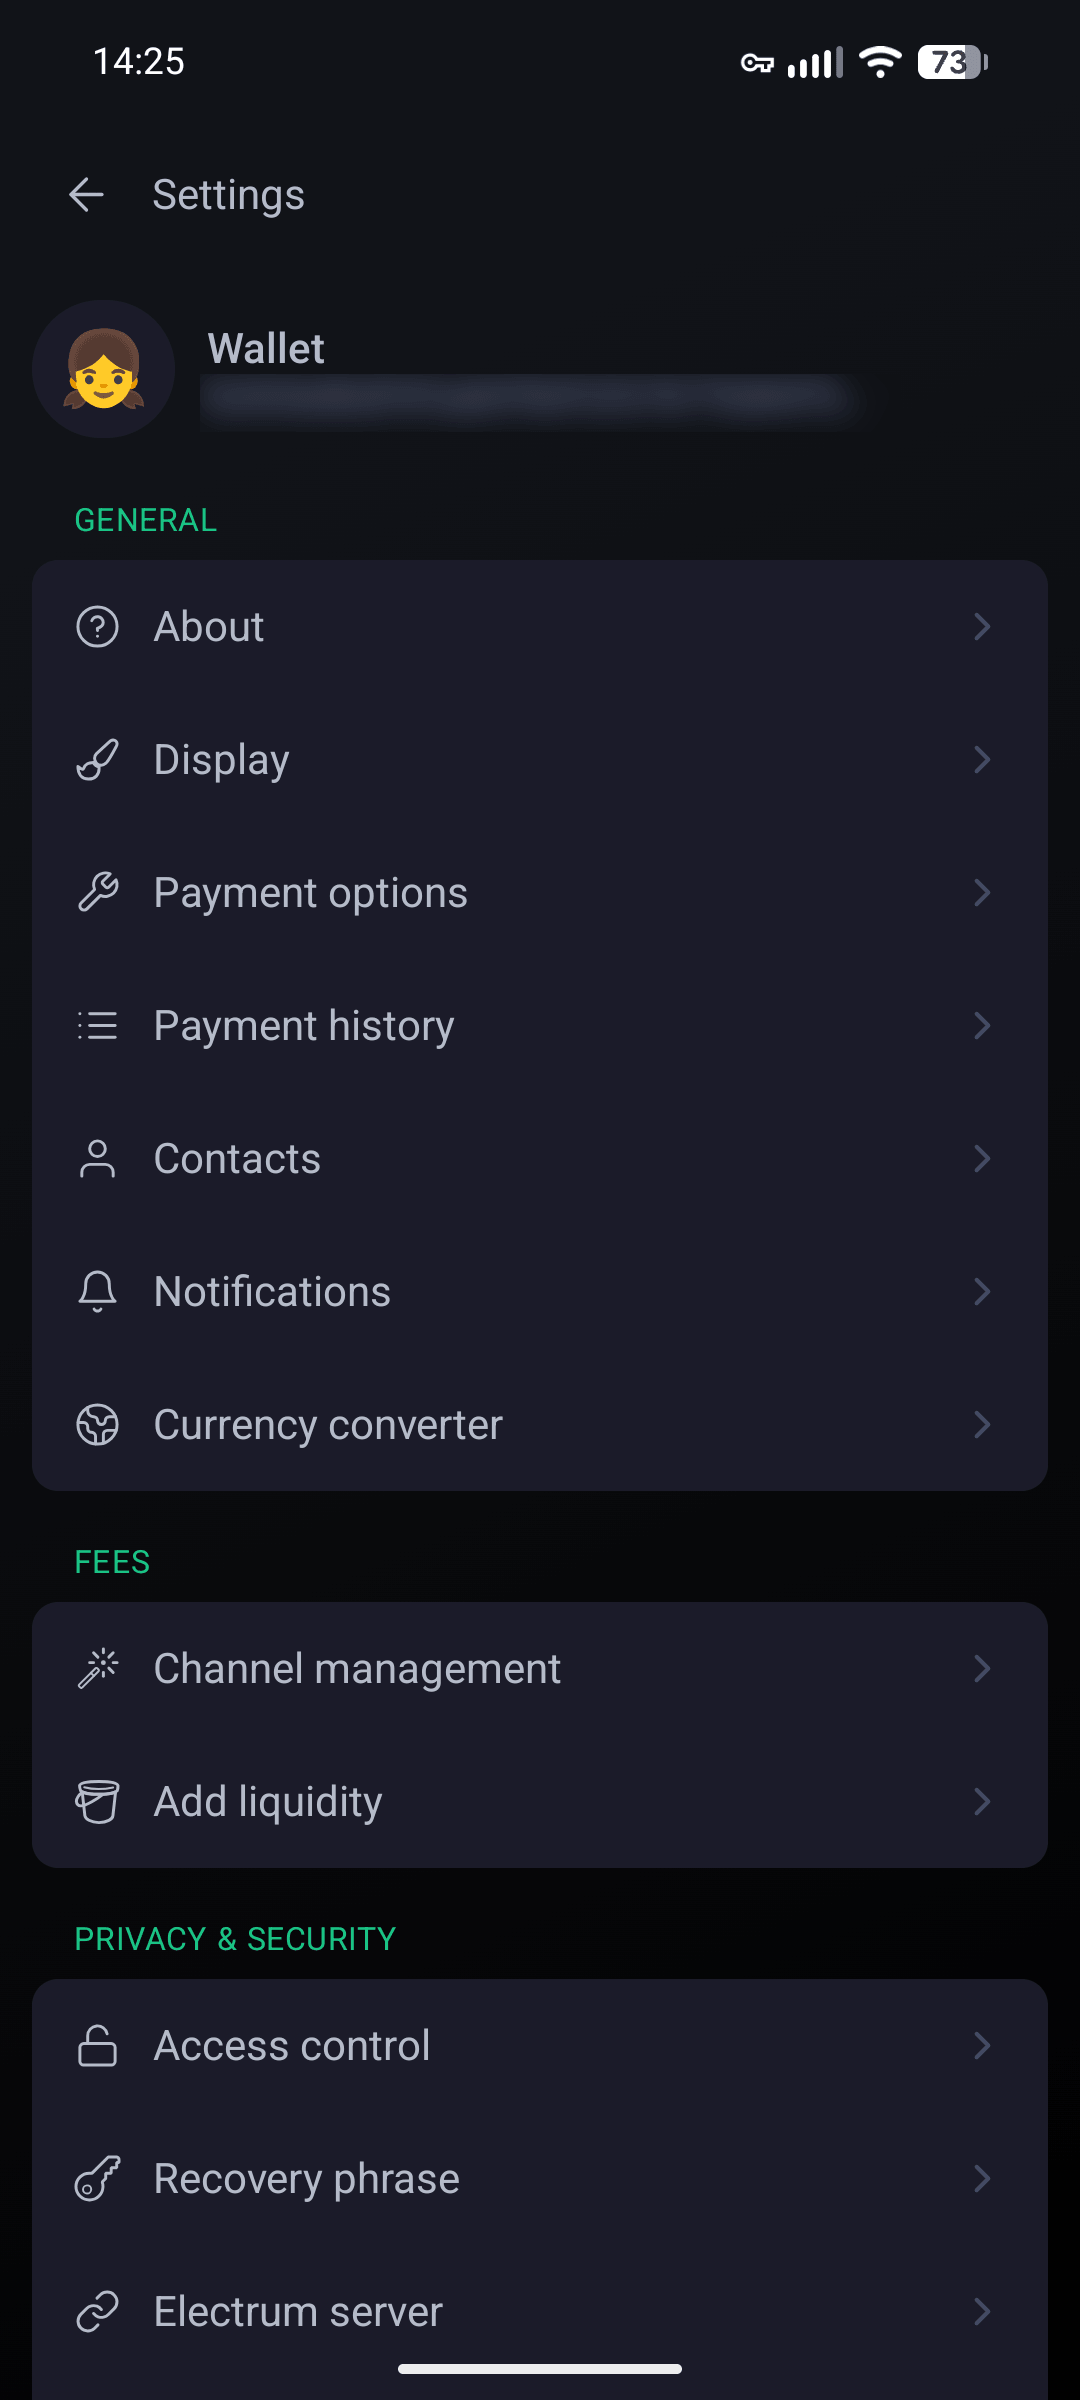
In Settings, tap “Recovery phrase”.
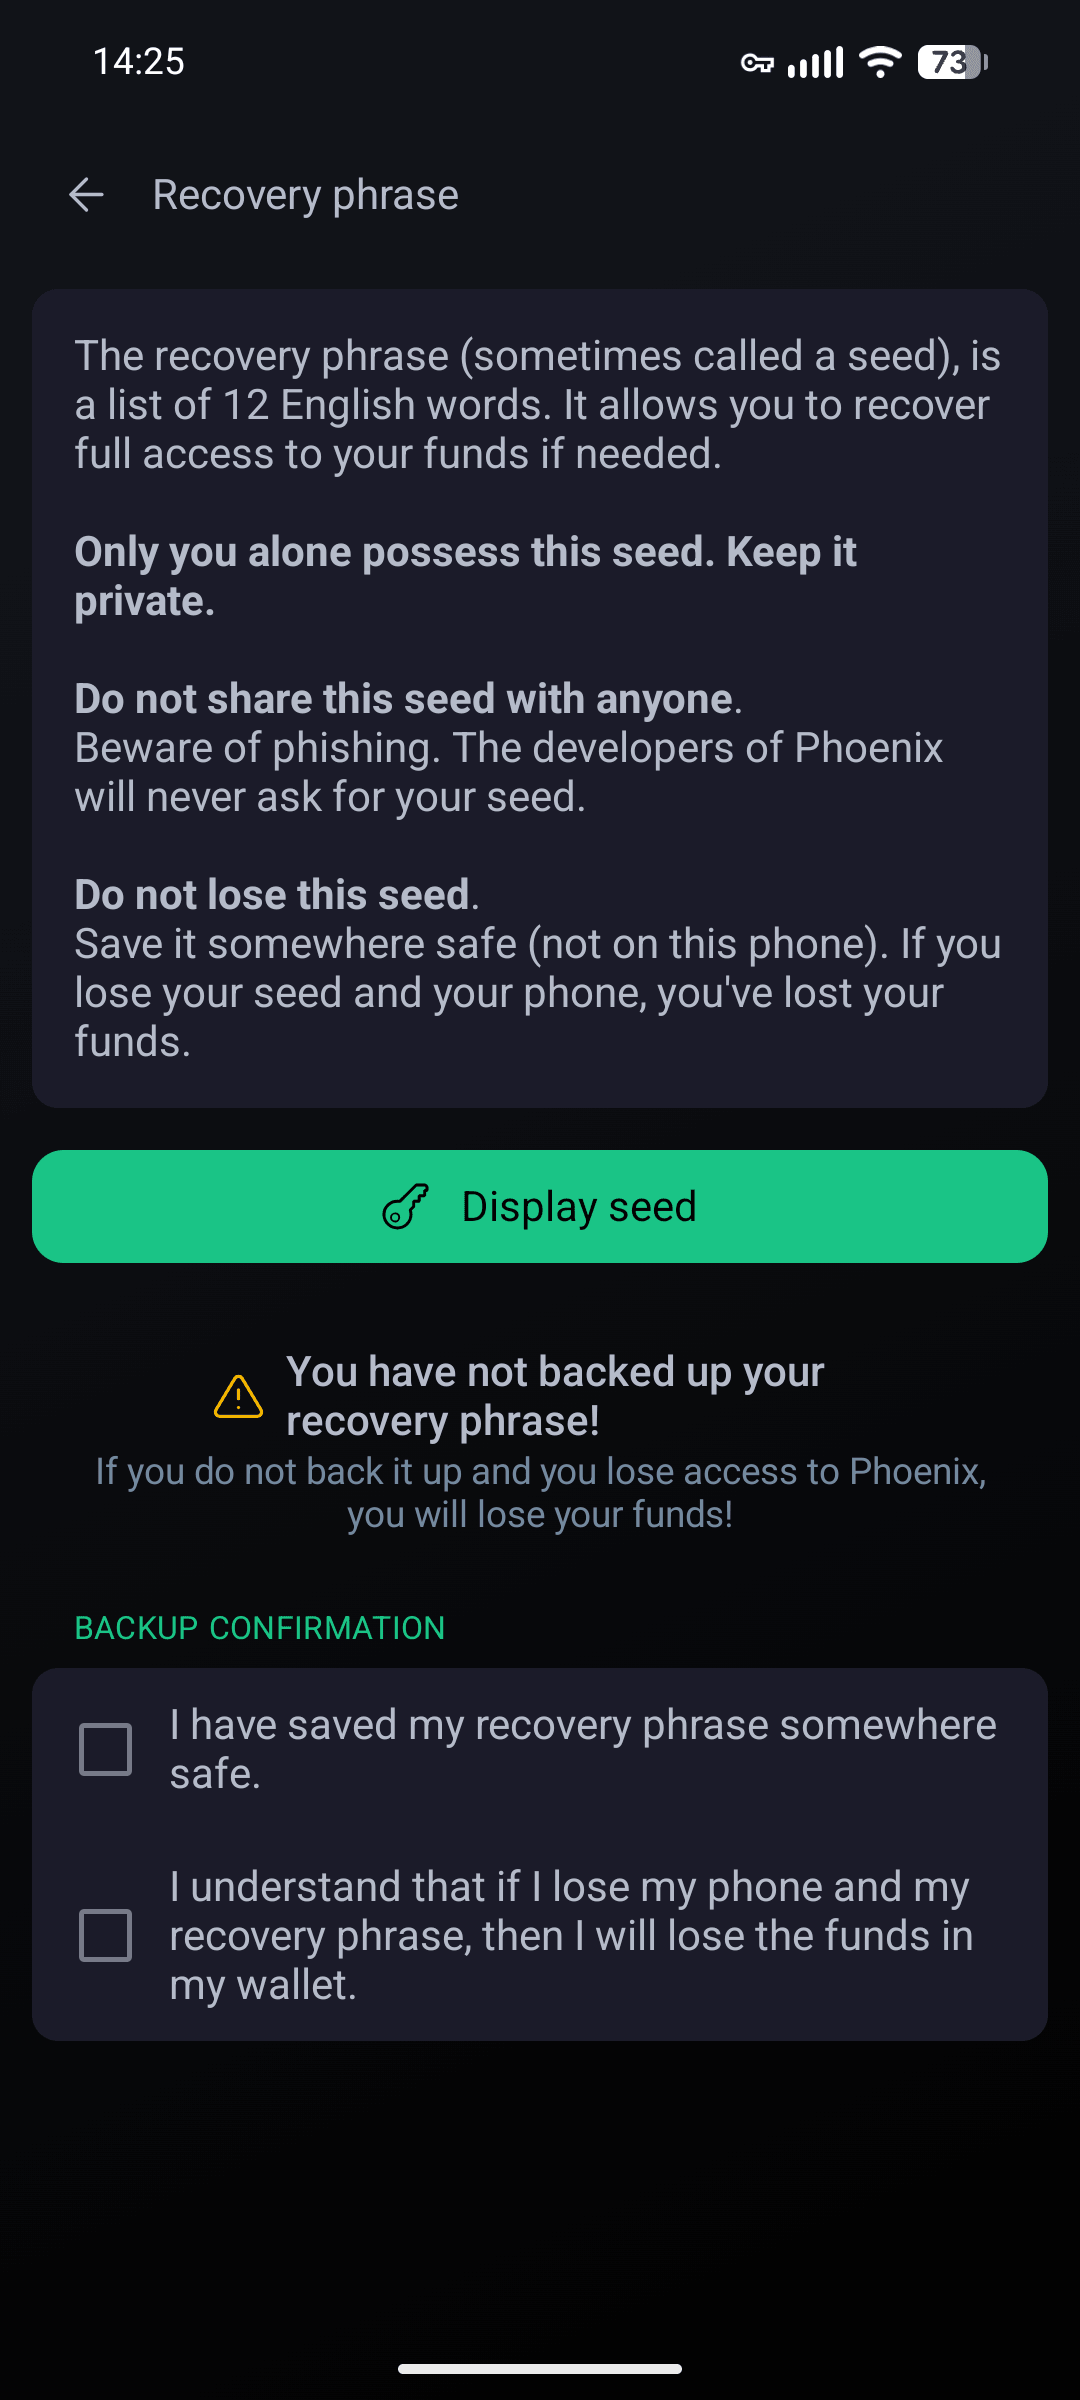
Tap “Display seed” button.
Write down your seed phrase
Write down your 12 words in order.
⚠️
Important: Your 12-word seed phrase must be written down in order! Store your seed phrase someplace physical; not a screenshot, not in your email, not on your computer.
Recovering your wallet
If you need to reinstall Phoenix wallet or get a new phone, here’s how to restore your wallet and access to your funds.
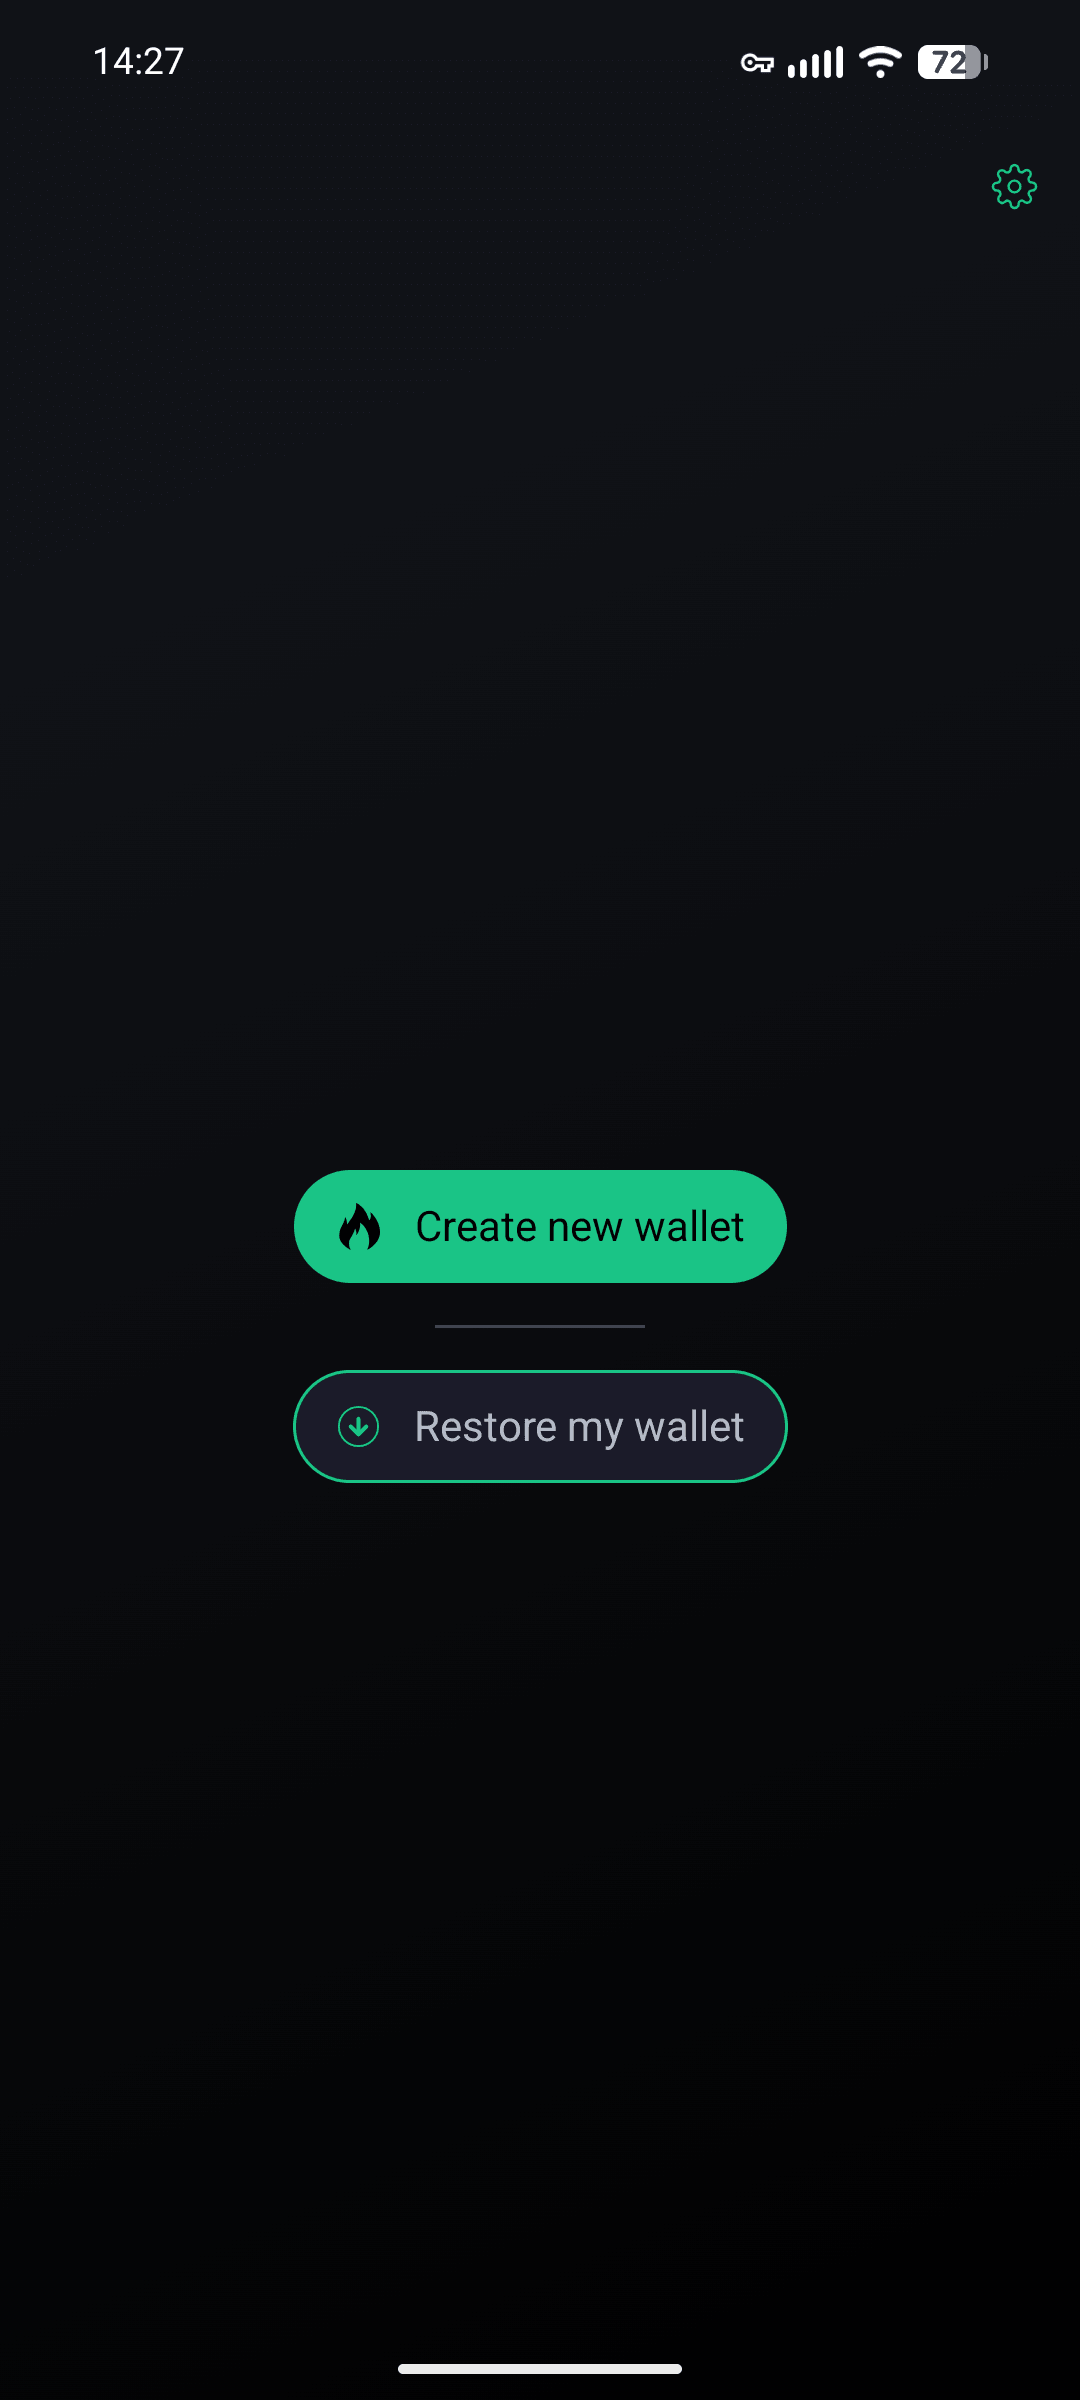
Choose “Restore my wallet” when opening the app
Tap “Restore my wallet”.
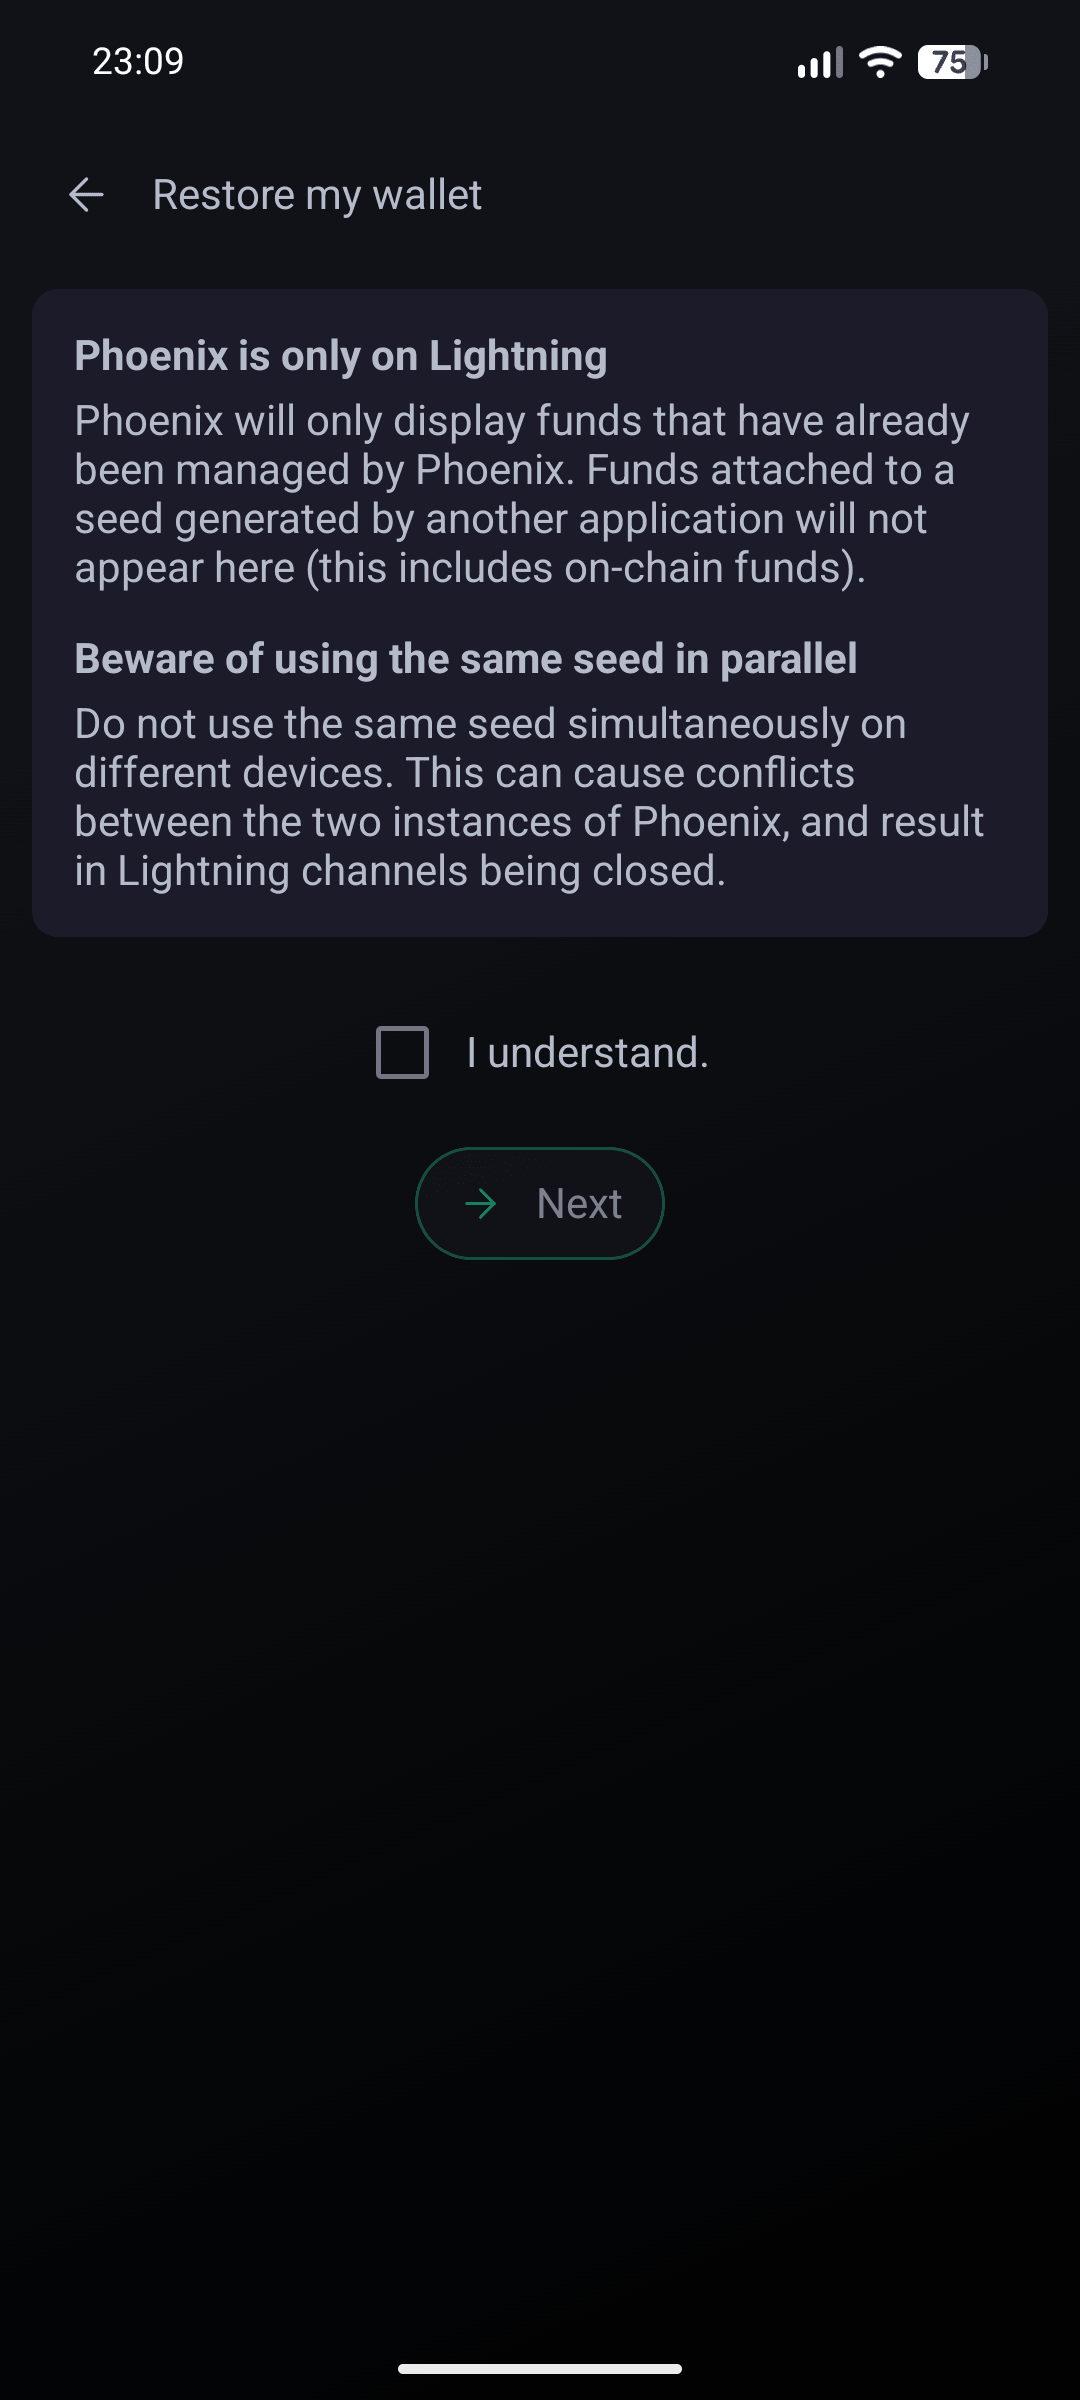
Check the box and hit “Next”.
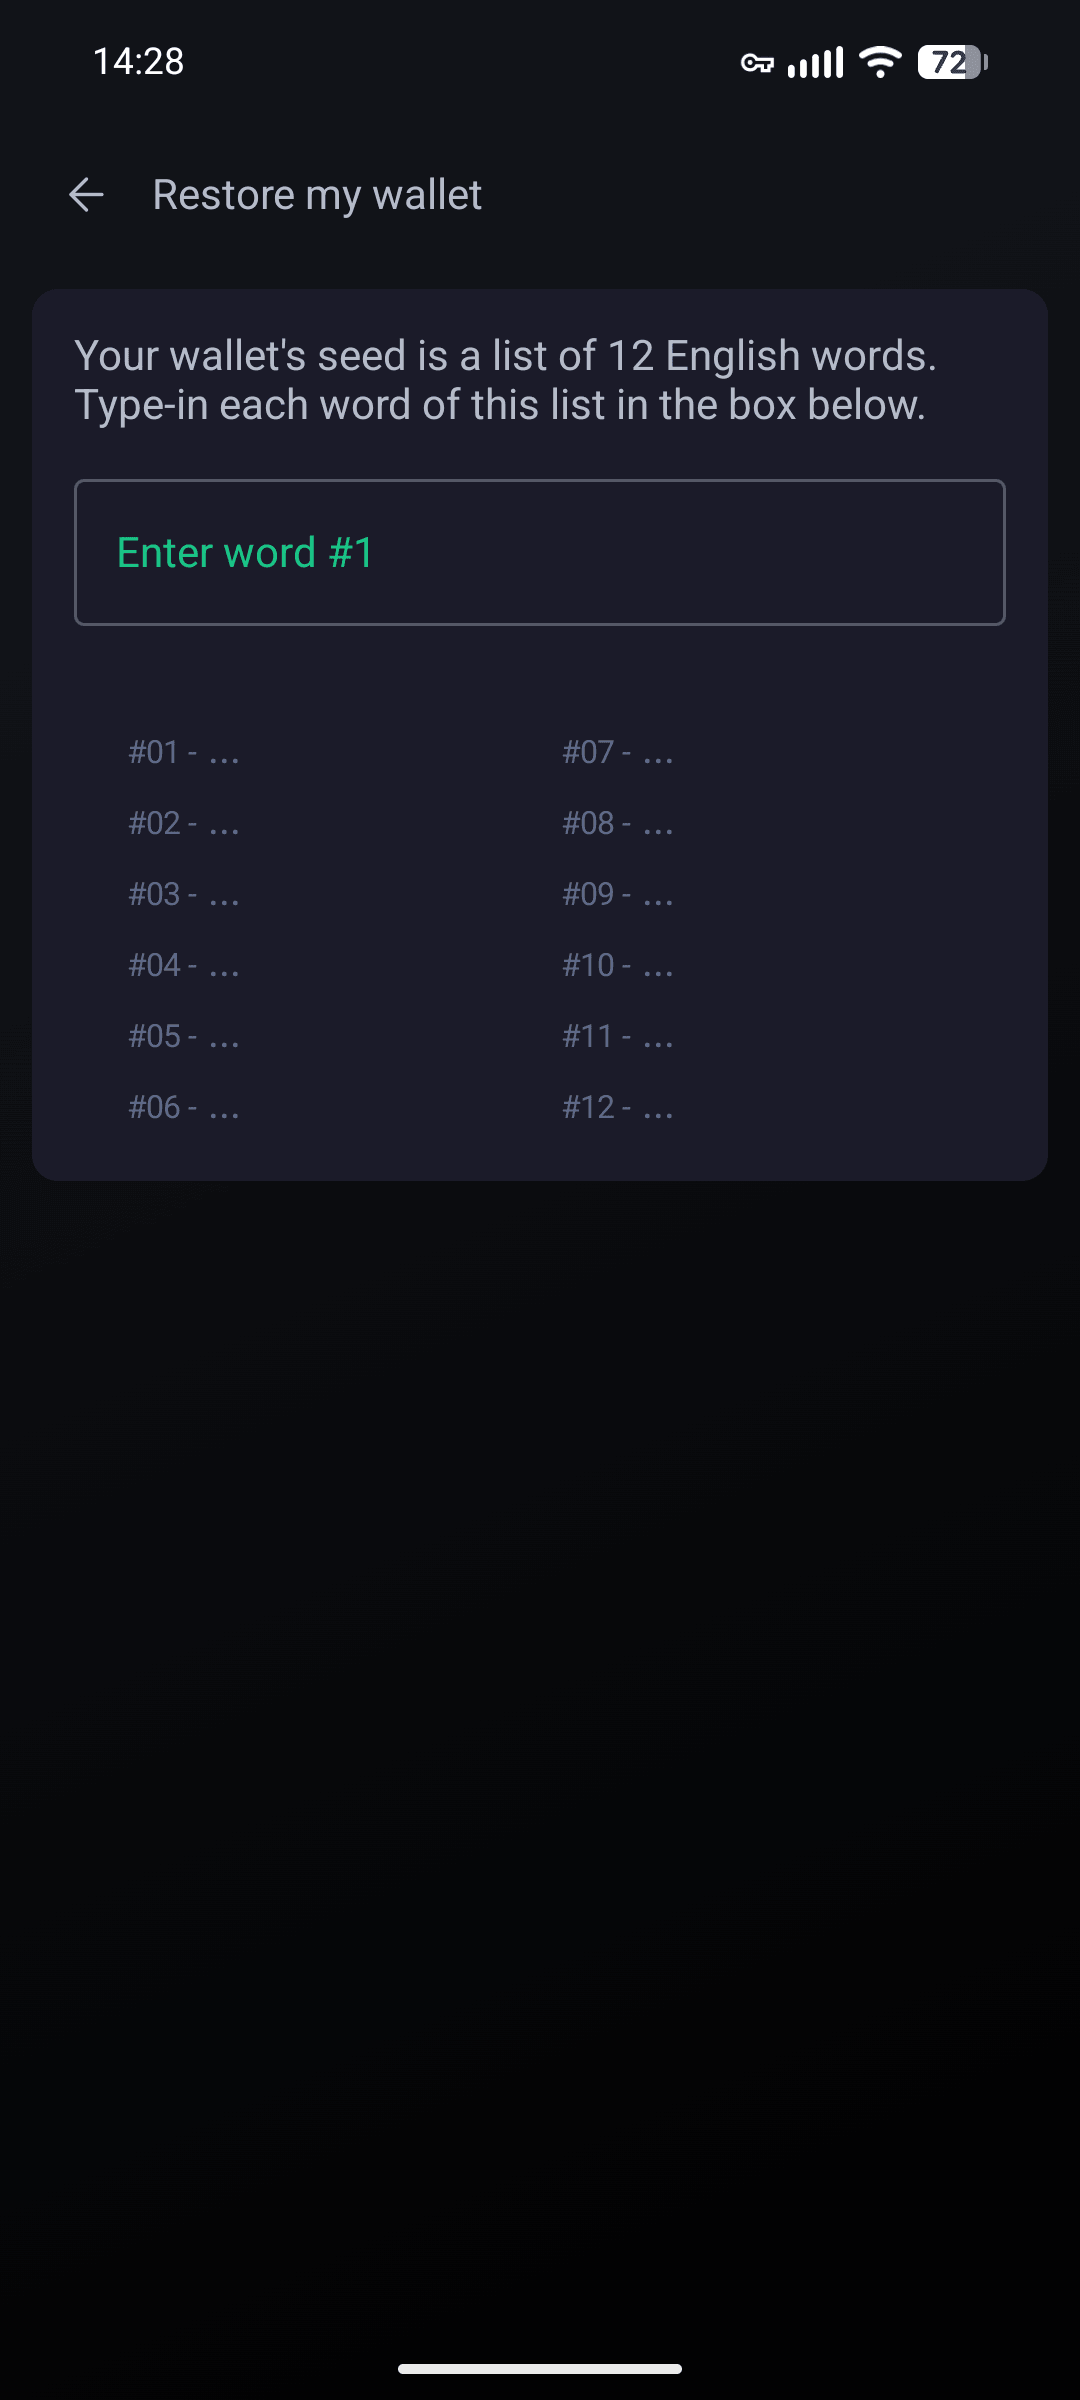
Enter your seed phrase
Enter your seed phrase.
⚠️
Important: Your 12-word seed phrase must be entered in order!
Securing your bitcoin
Phoenix wallet is great for accepting payments and for holding a small to medium balance, but it shouldn’t be thought of as a savings account. Here’s what to know and what to do next.
⚠️
Important: Phoenix is a hot wallet — it’s connected to the internet and not designed for long-term storage of significant funds. As your Bitcoin balance grows, you should move it to cold storage.
Transfer to cold storage
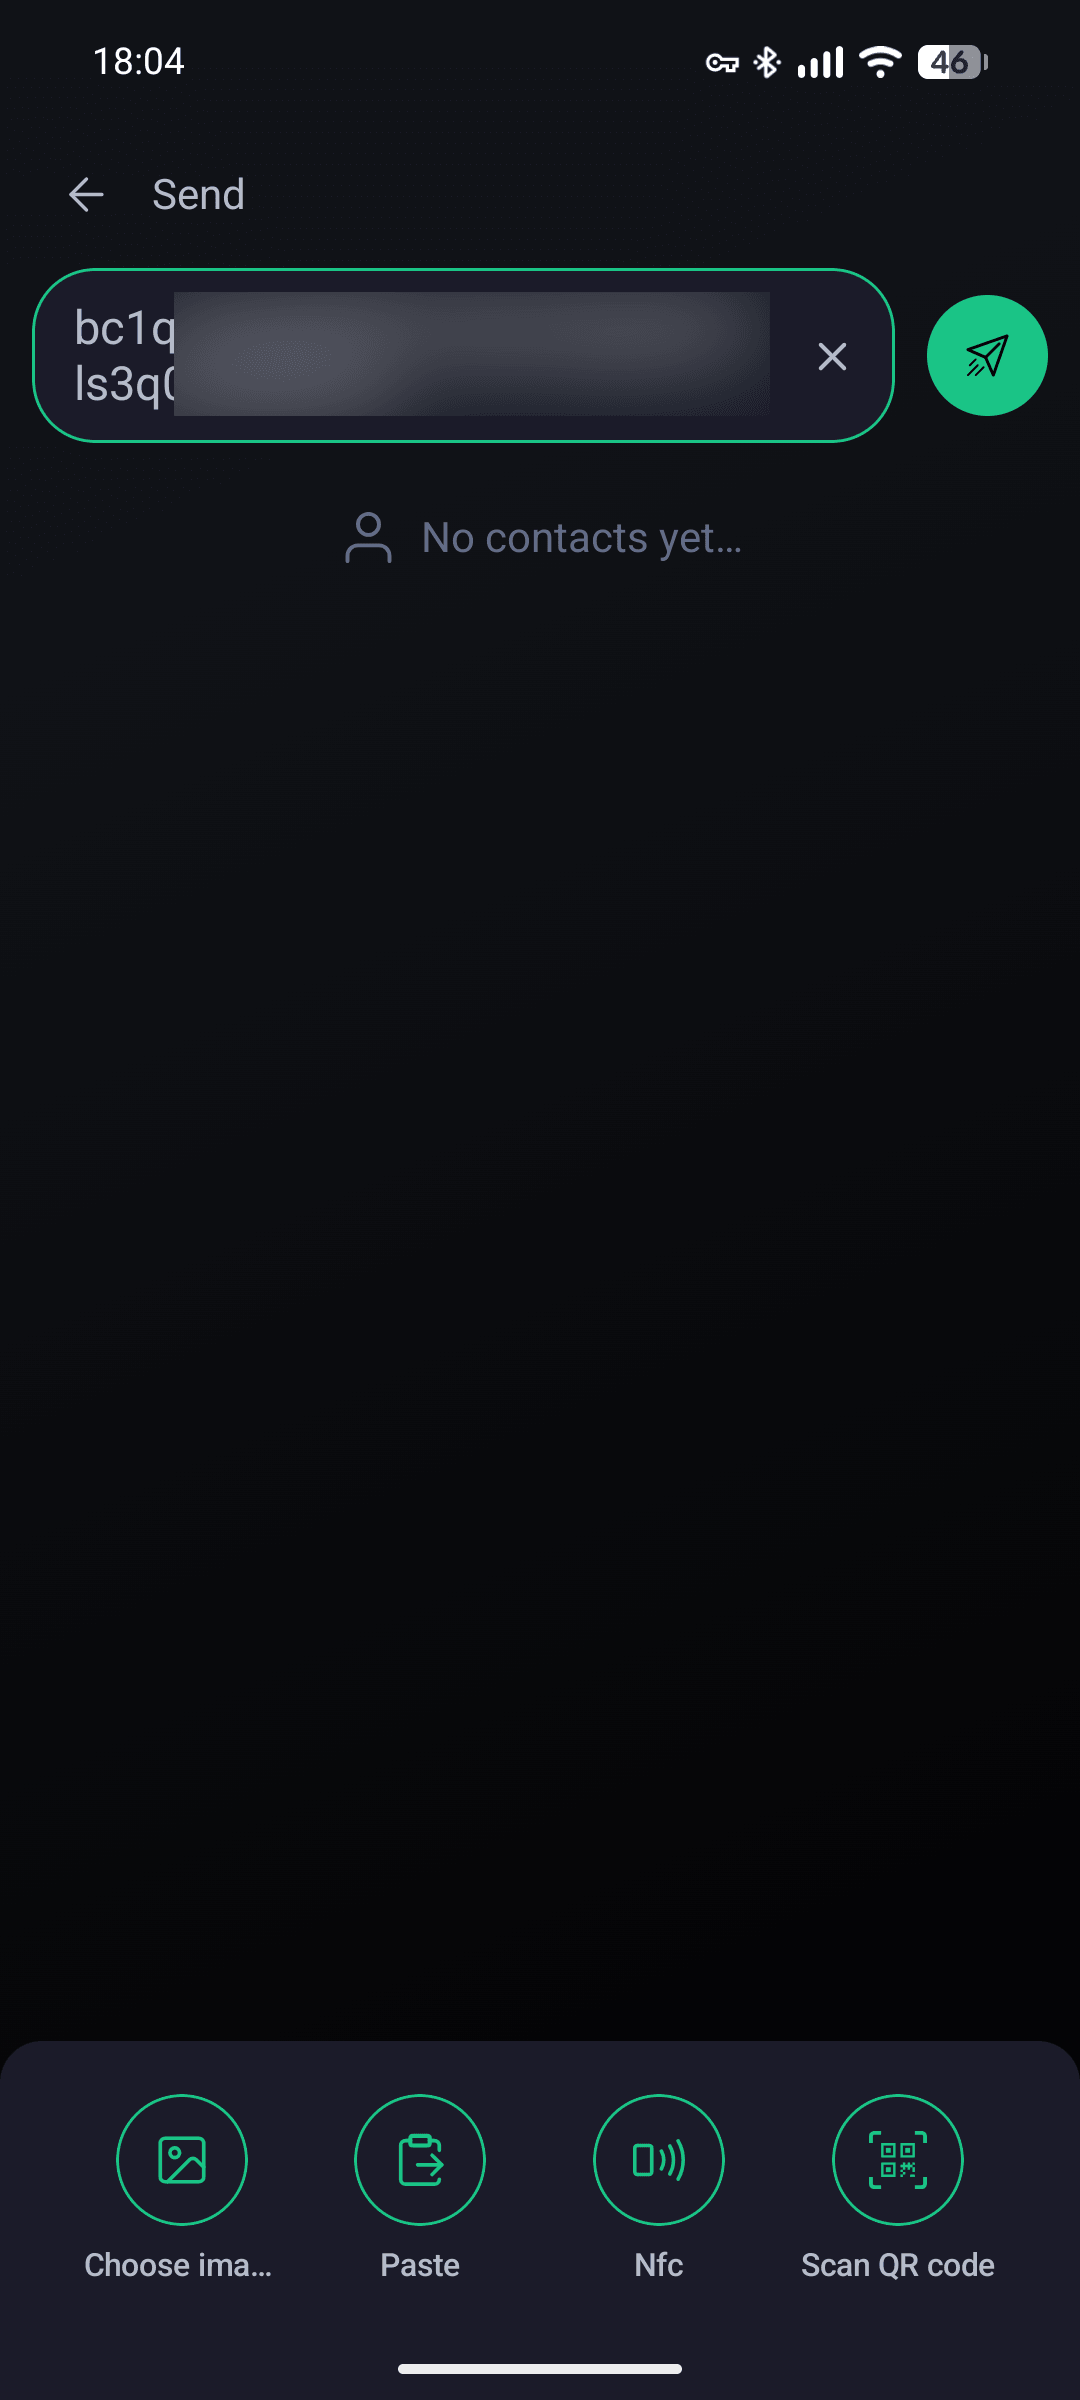
To fully secure your Bitcoin, withdraw it from Phoenix and transfer it to a cold storage wallet like a Trezor or Seedsigner. Generate a receiving address from your wallet, copy it, then tap “Send” in Phoenix.
Paste in your receiving address.
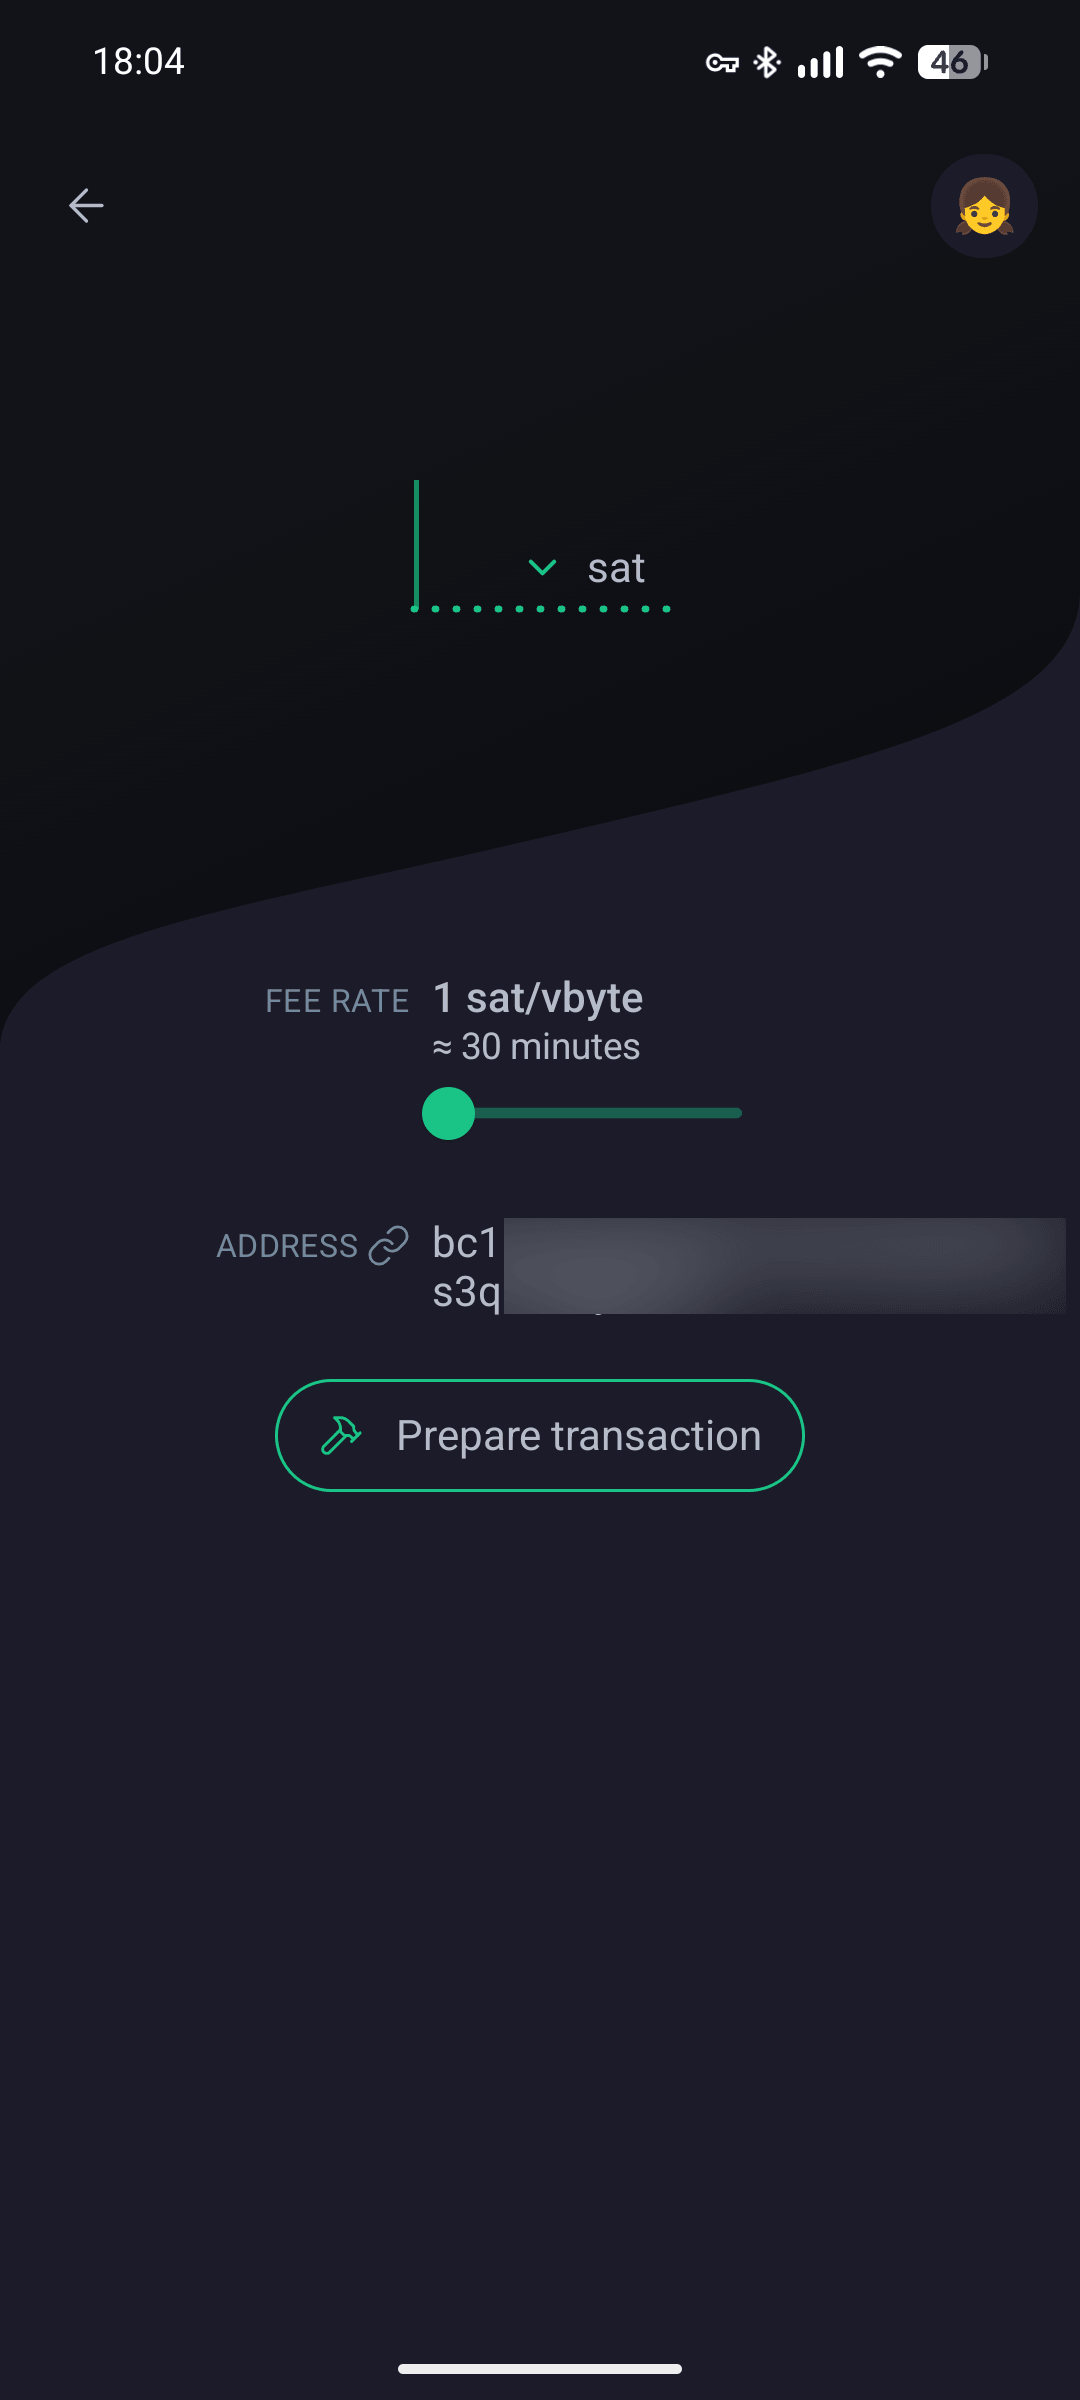
Tap the field to add an amount.
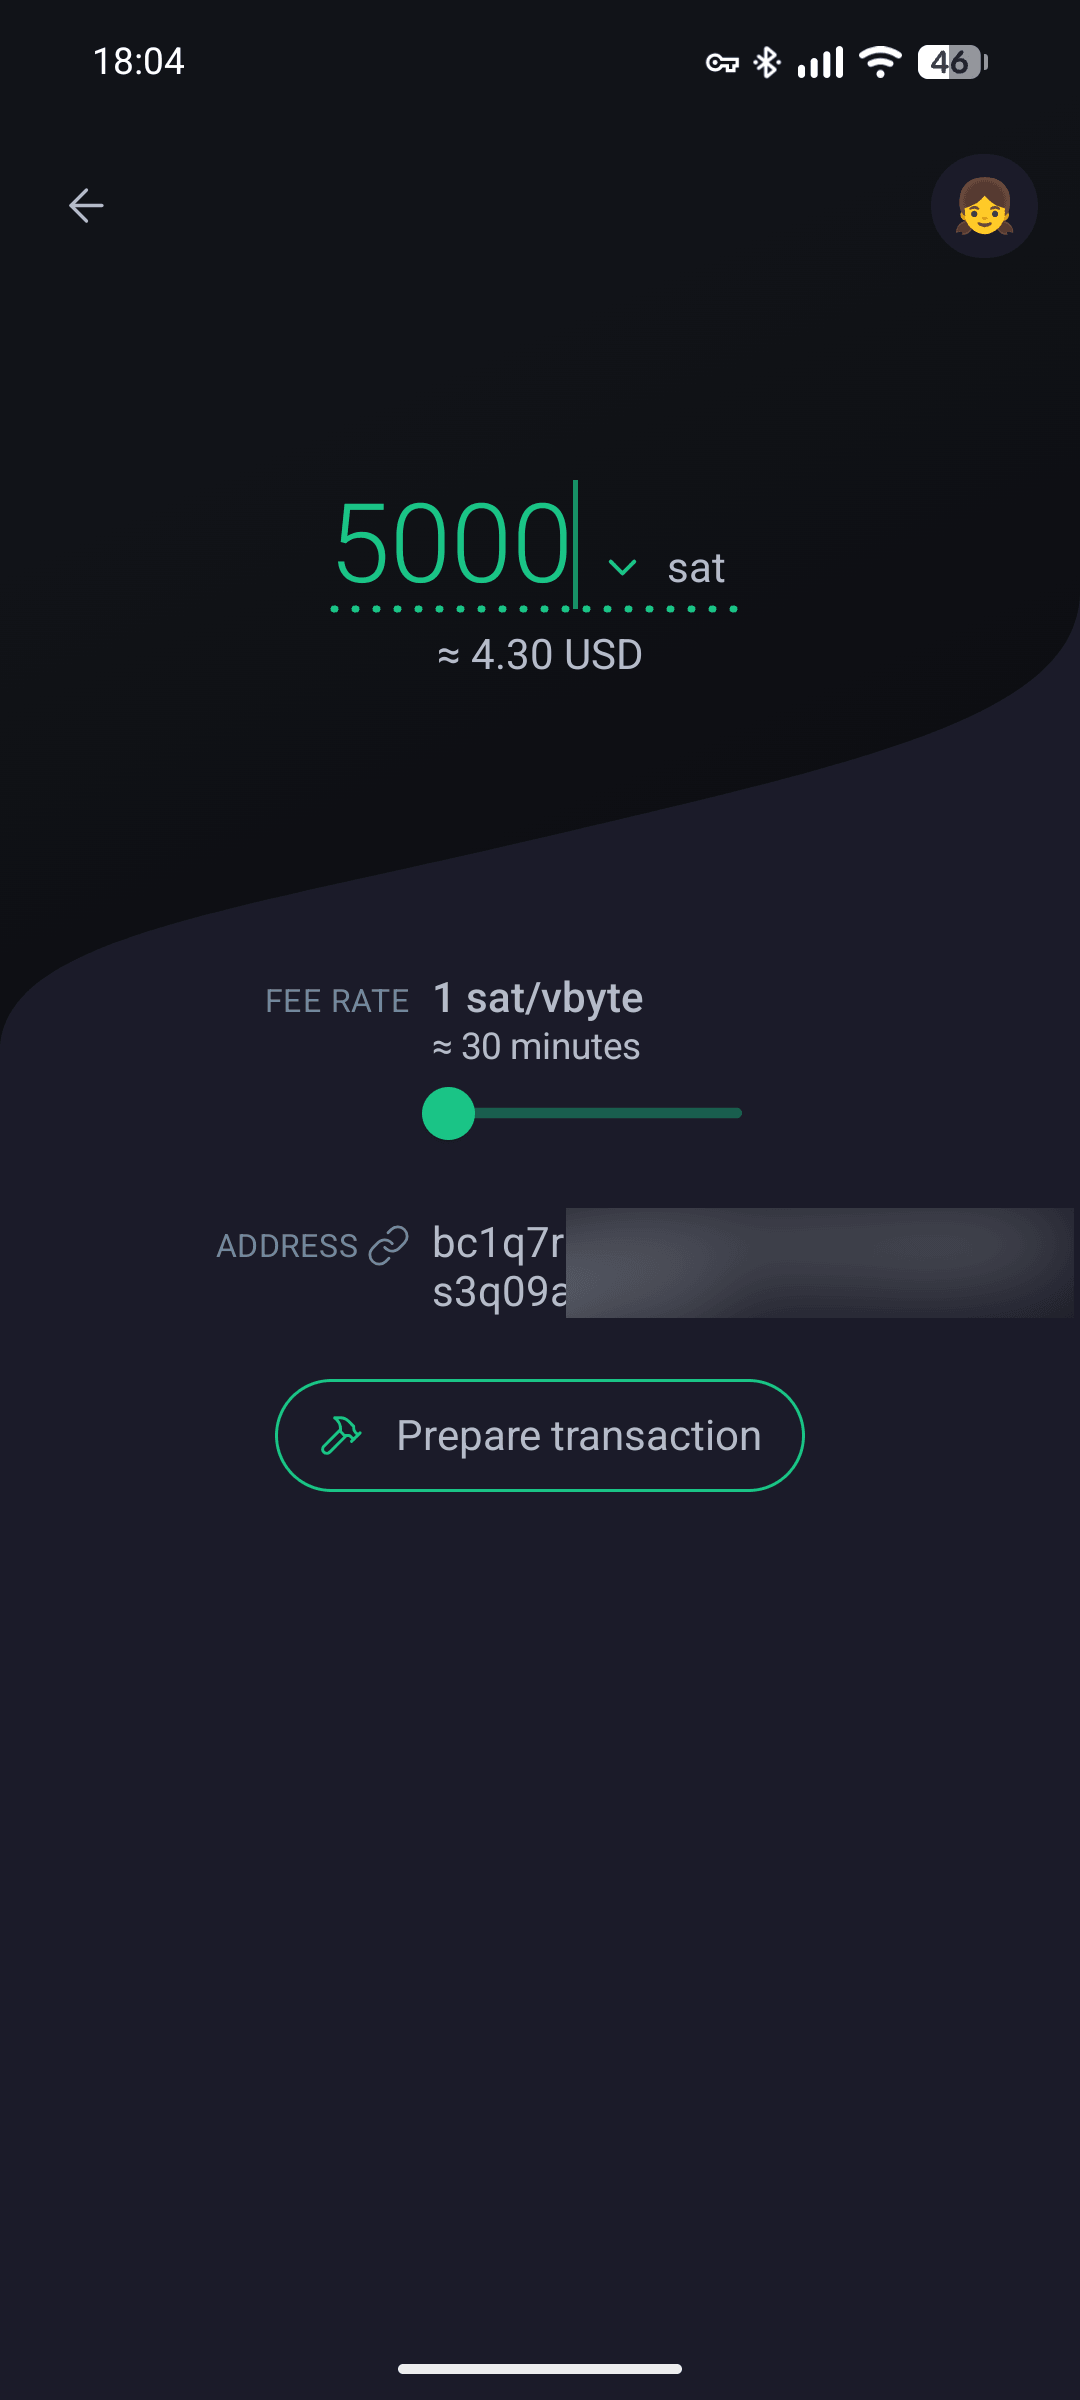
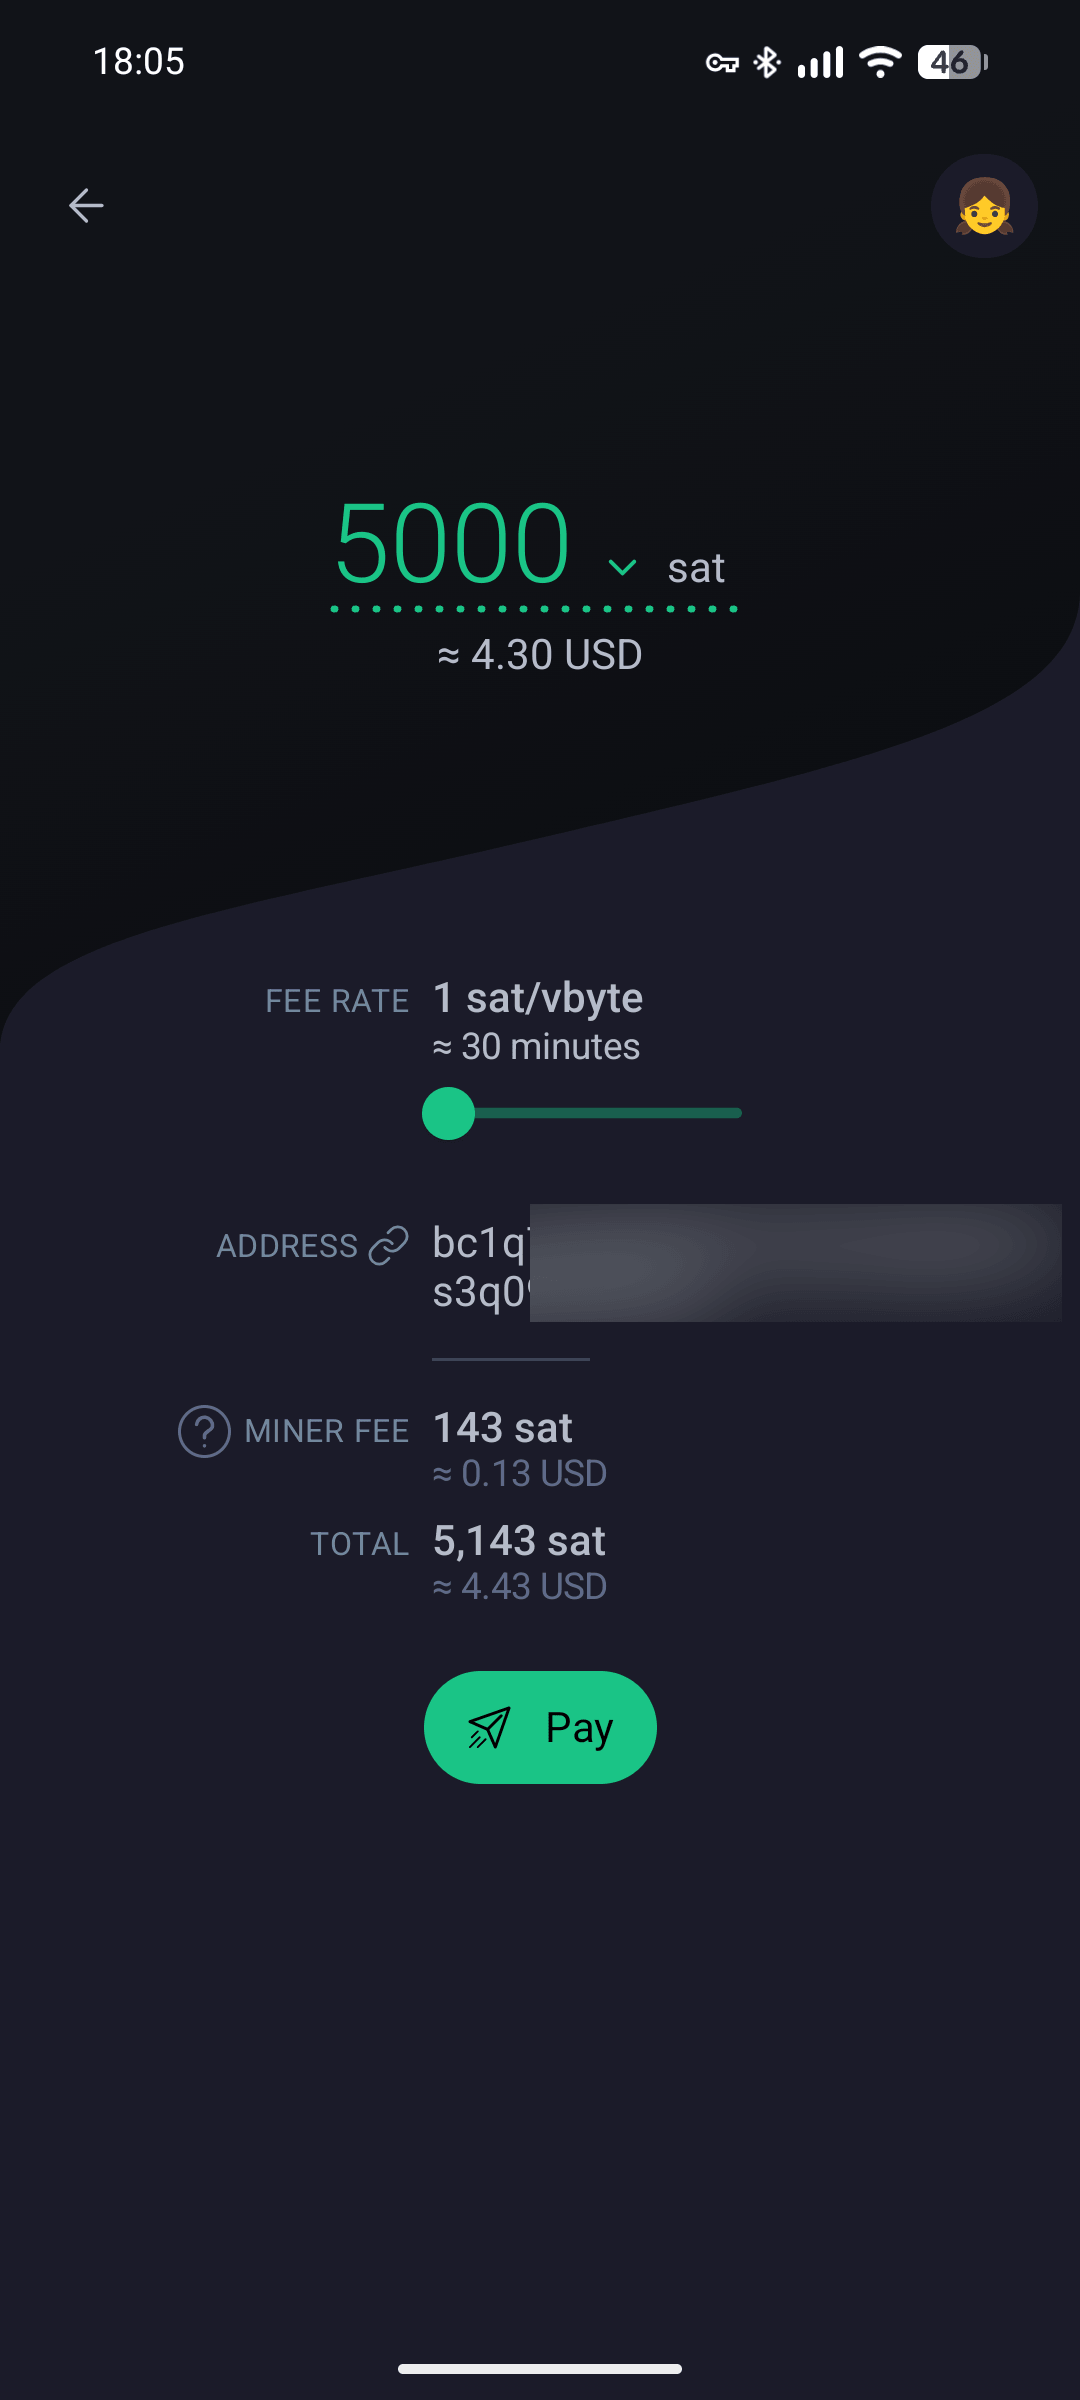
Input the number of sats you want to send to cold-storage and choose a Fee Rate.